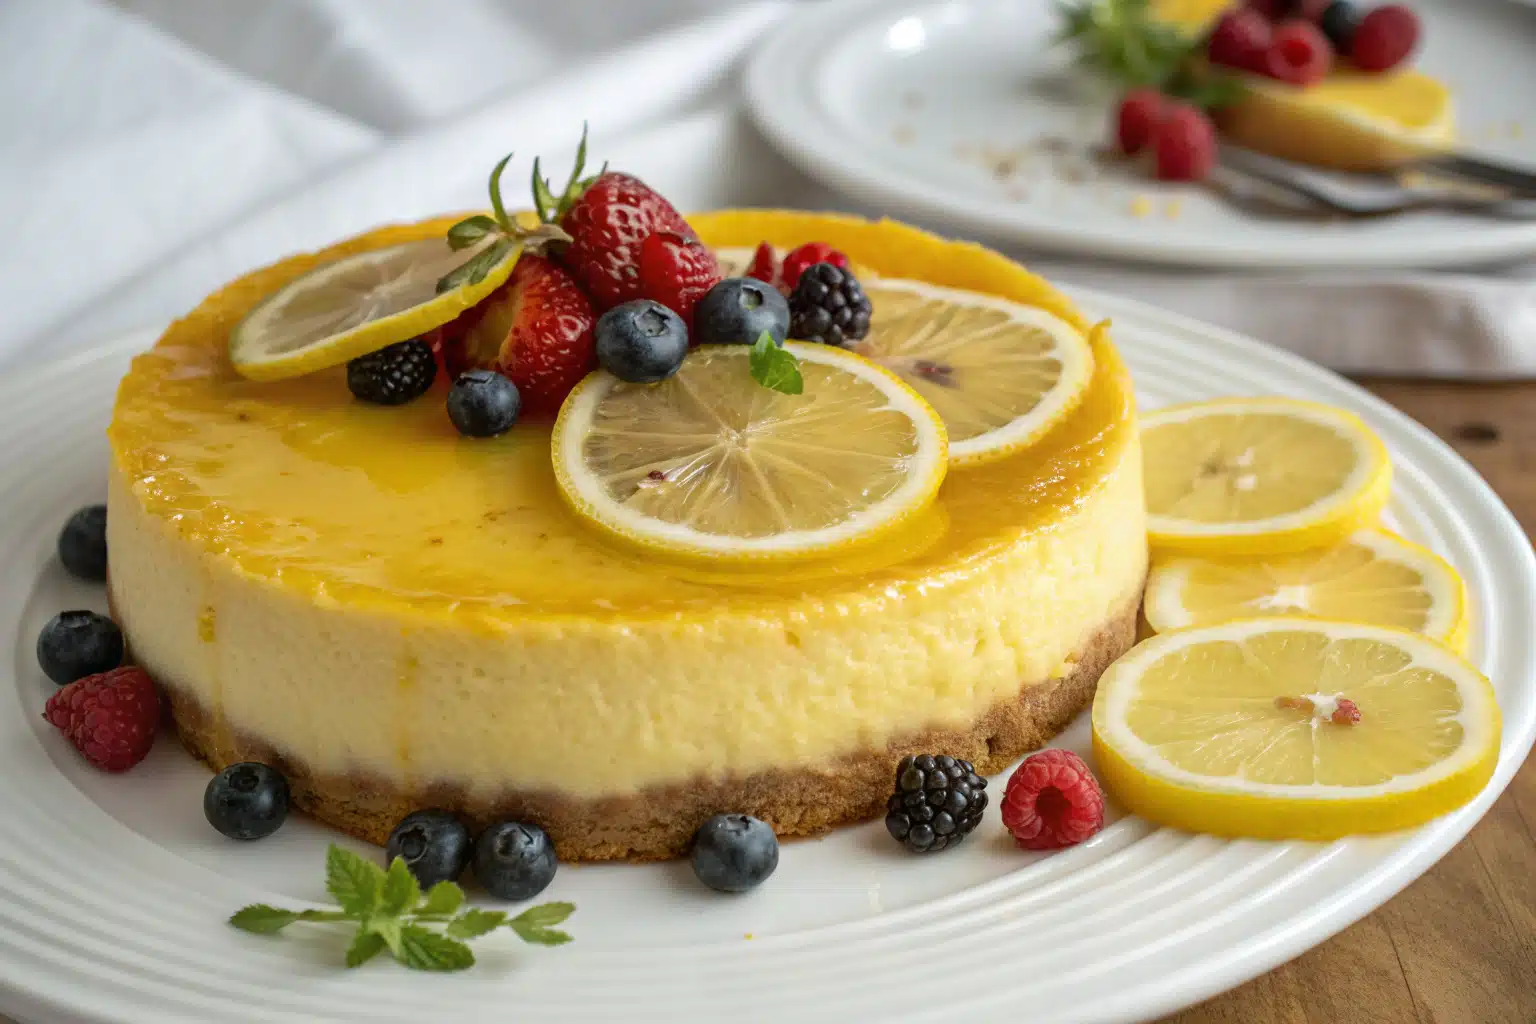
Ultimate Lemon Cheesecake: Creamy, Tangy & Irresistibly Delicious
Introduction to Lemon Cheesecake
The Classic Appeal of Lemon Cheesecake
Lemon cheesecake stands as one of the most beloved desserts, combining the rich creaminess of classic cheesecake with the bright, tangy flavor of fresh lemons. This delectable treat offers the perfect balance between sweetness and citrus zing, making it an ideal dessert for any occasion. Whether you’re hosting a summer gathering or simply craving something special, lemon cheesecake delivers a refreshing yet indulgent experience that few desserts can match.
“Check out our mini lemon cheesecakes for a bite-sized version of this classic treat!”
Why This Lemon Cheesecake Recipe Works
What makes this lemon cheesecake recipe truly special is its perfect texture and flavor balance. The graham cracker crust provides a buttery, slightly sweet foundation, while the cheesecake filling achieves that ideal consistency – velvety smooth yet firm enough to hold its shape when sliced. The fresh lemon juice and zest infuse the entire dessert with authentic citrus flavor rather than the artificial taste found in some store-bought versions. Additionally, the careful baking method, including the water bath technique, ensures a crack-free, professional-looking result that will impress even the most discerning dessert lovers.
Lemon Cheesecake Ingredients
For the Perfect Graham Cracker Crust
The foundation of any great lemon cheesecake begins with its crust. This recipe uses a classic graham cracker base that provides the perfect contrast to the creamy filling. The combination of graham cracker crumbs, melted butter, and sugar creates a firm yet tender crust that holds together beautifully while complementing the tangy lemon flavor.
| Ingredient | Amount | Notes |
|---|---|---|
| Graham Cracker Crumbs | 1¾ cups (210g) | About 14 full-sheet crackers |
| Unsalted Butter | 5 Tablespoons (71g) | Melted |
| Granulated Sugar | ¼ cup (50g) | Adds sweetness and helps bind |
For the Creamy Lemon Cheesecake Filling
The star of this dessert is undoubtedly the lemon-infused cheesecake filling. Using full-fat cream cheese is essential for achieving that luxurious, silky texture that defines a perfect cheesecake. The addition of fresh lemon juice and zest provides the signature tangy flavor, while the other ingredients work together to create a balanced, smooth consistency.
| Ingredient | Amount | Notes |
|---|---|---|
| Granulated Sugar | 1¼ cups (250g) | Will be infused with lemon zest |
| Lemon Zest | 1 Tablespoon packed | From approximately 1 lemon |
| Cream Cheese | 32 ounces (904g) | Full-fat, room temperature |
| Fresh Lemon Juice | ½ cup (120ml) | From about 3-4 lemons |
| Sour Cream | ⅓ cup (80g) | Room temperature |
| Vanilla Extract | 1 teaspoon | Adds depth of flavor |
| Large Eggs | 3 | Room temperature |
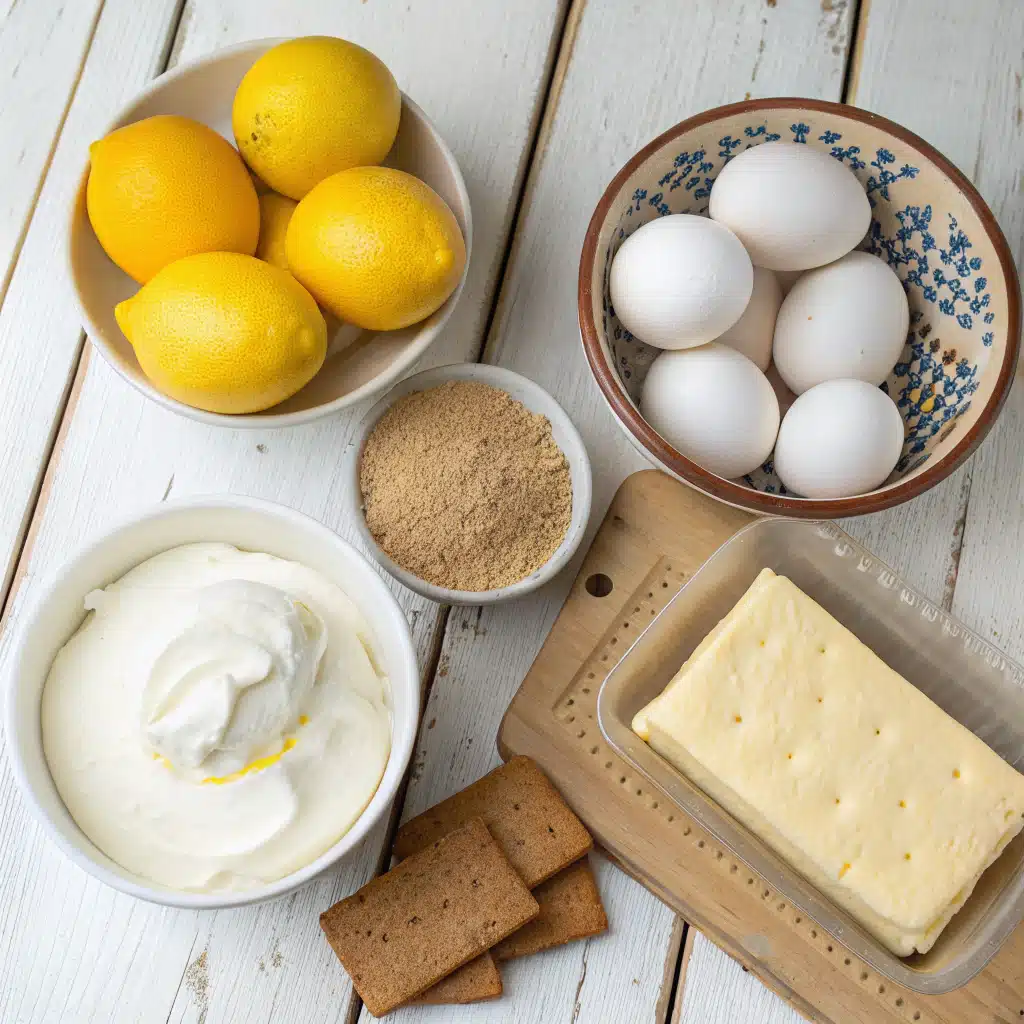
Step-by-Step Lemon Cheesecake Instructions
Preparing the Crust and Baking Setup
Position the oven rack to the lower-middle position and preheat to 350°F (177°C).
If using whole graham crackers, process them in a food processor until they become fine crumbs. Transfer to a bowl and mix with ¼ cup sugar until combined.
Pour in the melted butter and stir until the mixture resembles wet sand. Press firmly into the bottom and slightly up the sides of an ungreased 9-inch springform pan.
Use the flat bottom of a measuring cup to compact the crust evenly. This creates a smooth, firm base that won’t crumble when served.
Pre-bake the crust for 10 minutes. Once removed from the oven, place the hot pan on a large piece of aluminum foil, which you’ll later use for the water bath.
Creating the Perfect Lemon Filling
Create lemon sugar by combining granulated sugar and fresh lemon zest in a food processor. Pulse 10-12 times until the zest is incorporated and slightly broken down, releasing its oils into the sugar.
In a large mixing bowl, beat cream cheese and the prepared lemon sugar using a mixer with a paddle attachment. Mix on medium-high speed for about 2 minutes until smooth and creamy.
Add the fresh lemon juice, sour cream, and vanilla extract. Beat on medium-high speed until completely incorporated and the mixture looks uniform.
Reduce to medium speed and add eggs one at a time, beating briefly after each addition just until blended. To prevent cracking, avoid overmixing the batter once the eggs are incorporated.
Pour the cheesecake batter into the warm crust and smooth the top with a spatula. “Learn more about preparing desserts that look professional with our simple techniques.”
Baking and Cooling for Perfect Results
Prepare a water bath by boiling water in a kettle or pot. You’ll need enough to create a 1-inch depth in your roasting pan.
Place the springform pan (wrapped in foil) inside a large roasting pan. Carefully pour the hot water into the roasting pan, creating a water bath around the cheesecake.
Bake for 55-70 minutes, or until the center is almost set but still has a slight wobble when gently tapped. If you notice the top browning too quickly, tent it with aluminum foil halfway through baking.
Once baked, turn off the oven, crack the door slightly, and allow the cheesecake to cool gradually in the water bath for 1 hour. This slow cooling process prevents cracking.
Remove from the oven and water bath, then cool the cheesecake completely at room temperature before refrigerating.
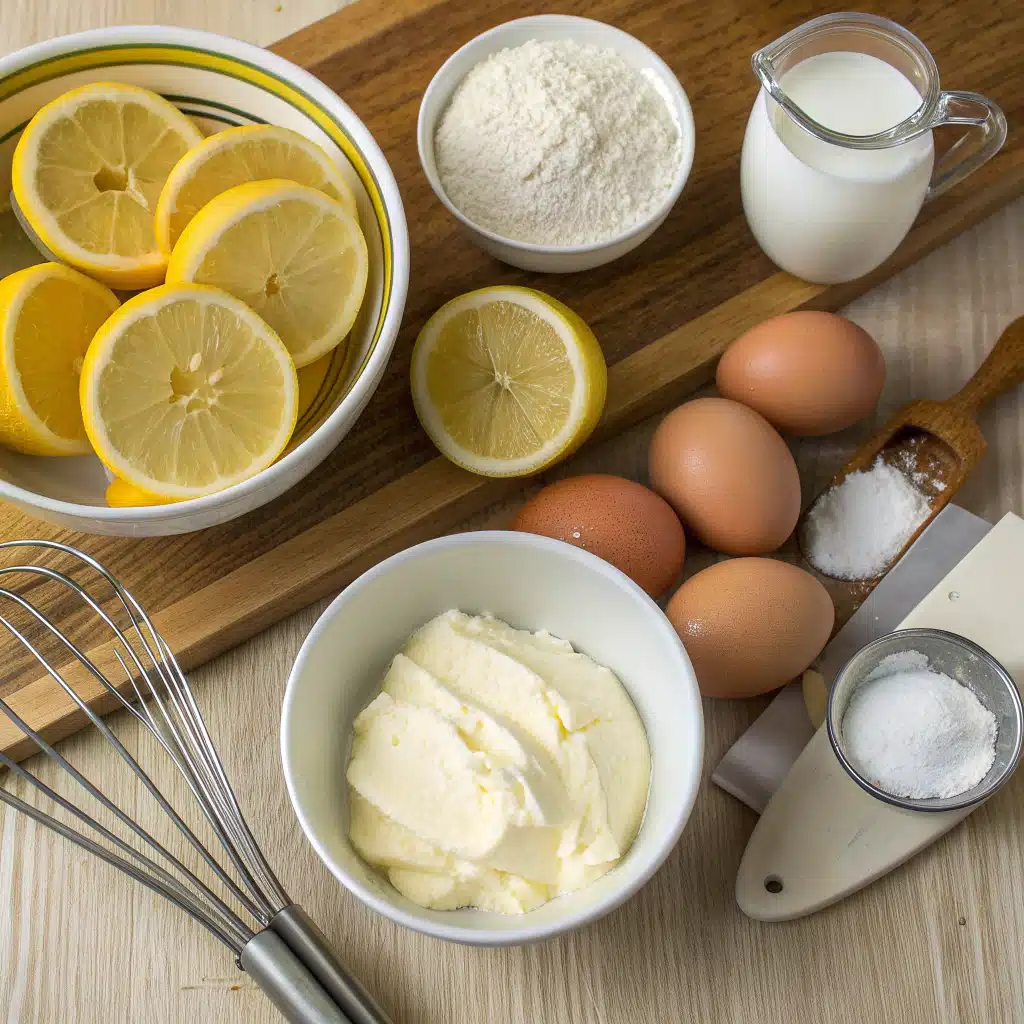
Tips for Lemon Cheesecake Success
Preventing Cracks in Your Lemon Cheesecake
Achieving a perfectly smooth, crack-free lemon cheesecake is often considered the ultimate baking achievement. Fortunately, with a few key techniques, you can consistently produce beautiful results. First, ensure all ingredients are at room temperature before mixing, as this allows for proper incorporation without overbeating. Second, the water bath is crucial – it provides gentle, even heat distribution while maintaining humidity in the oven.
“Discover great ideas like no-bake alternatives if you’re worried about cracks.”
Additionally, avoid overmixing the batter once the eggs are added. Excess air in the mixture can cause the cheesecake to rise too much during baking and then crack as it cools. Finally, the gradual cooling process (leaving the cheesecake in the turned-off oven with the door cracked) prevents the sudden temperature change that often leads to cracking.
Achieving the Perfect Lemon Cheesecake Texture
The key to a luxuriously creamy lemon cheesecake lies in both ingredients and technique. Always use full-fat cream cheese, as low-fat versions contain more water and can result in a less stable texture. The addition of sour cream provides a subtle tanginess while contributing to the smooth consistency.
When mixing the filling, scrape down the sides of the bowl frequently to ensure all ingredients are evenly incorporated. The baking time is also critical – resist the urge to bake until completely set. When properly baked, the outer edges should be set while the center still has a slight jiggle. The cheesecake will continue to firm up during cooling and refrigeration, resulting in that perfect, velvety texture.
Making Lemon Cheesecake Ahead of Time
One of the greatest advantages of lemon cheesecake is that it’s an ideal make-ahead dessert. In fact, allowing your cheesecake to chill thoroughly improves both its flavor and texture. For best results, prepare your lemon cheesecake at least one day before serving. This resting time allows the flavors to meld and intensify, particularly the bright lemon notes.
If you’re planning further ahead, the completed cheesecake can be refrigerated for up to 5 days. Alternatively, you can freeze the cheesecake (without toppings) for up to 2 months. When ready to serve, thaw overnight in the refrigerator before adding any fresh toppings.
Lemon Cheesecake Storage and Shelf Life
Proper Refrigeration Techniques
Proper storage is essential for maintaining the quality and safety of your lemon cheesecake. After the initial cooling period, the cheesecake should be refrigerated for at least 4 hours, though overnight is preferable. This extended chilling time allows the cheesecake to set completely and develops the flavor profile.
“Don’t miss our guide to storing desserts for more helpful tips.”
When refrigerating, you can leave the cheesecake in the springform pan until ready to serve, which provides the best protection. Once the rim has been removed, store any leftovers in an airtight container to prevent the cheesecake from absorbing other flavors from the refrigerator. Properly stored, your lemon cheesecake will maintain its quality for up to 5 days in the refrigerator.
Freezing Your Lemon Cheesecake
For longer storage, lemon cheesecake freezes beautifully. To freeze, first ensure the cheesecake has completely cooled. For the best results, freeze the cheesecake before adding any toppings like lemon curd or whipped cream, as these are best added fresh before serving.
To freeze, place the cooled cheesecake (still on its base) on a cardboard round, then wrap tightly with plastic wrap followed by aluminum foil. This double-wrapping prevents freezer burn and preserves flavor. When properly wrapped, the cheesecake will maintain quality for up to 2 months. To thaw, transfer from the freezer to the refrigerator and allow to thaw overnight (about 8-12 hours) before adding toppings and serving.
When to Add Toppings
Timing is important when it comes to adding toppings to your lemon cheesecake. For lemon curd, which is highly recommended for this recipe, it’s best to add it after the cheesecake has cooled completely at room temperature but before refrigeration. This allows the curd to set along with the cheesecake.
However, whipped cream and fresh fruit toppings should be added just before serving for the best appearance and texture. If you add whipped cream too early, it may weep or deflate during storage. Similarly, fresh berries or lemon slices will look their best when added just before presenting your masterpiece to eager guests.
Delicious Lemon Cheesecake Variations
No-Bake Lemon Cheesecake Option
If you’re looking for a simpler alternative that doesn’t require an oven, a no-bake lemon cheesecake is an excellent option. To create this version, prepare the graham cracker crust as directed but chill rather than bake it. For the filling, whip softened cream cheese with sugar, lemon juice, and zest, then fold in whipped heavy cream that’s been beaten to stiff peaks. This creates a light, mousse-like texture.
“Want more ideas? Check out easy no-bake dessert options for summer entertaining.”
Adding gelatin (about 1 tablespoon bloomed in 3 tablespoons of water, then melted) helps the no-bake version set firmly. Pour the mixture over the chilled crust, smooth the top, and refrigerate for at least 6 hours or overnight until completely set. This variation is perfect for hot summer days when turning on the oven is unappealing.
Gluten-Free Lemon Cheesecake
Creating a gluten-free lemon cheesecake is simple and just as delicious as the traditional version. For the crust, substitute the graham crackers with gluten-free cookies such as gluten-free graham crackers, vanilla cookies, or even almond flour cookies. Process these as directed in the original recipe.
The cheesecake filling itself is naturally gluten-free, as cream cheese, eggs, sugar, and lemons contain no gluten. However, always check that your vanilla extract is certified gluten-free, as some brands may contain additives that aren’t suitable for those with gluten sensitivities. With these simple substitutions, everyone can enjoy this wonderful dessert regardless of dietary restrictions.
Mini Lemon Cheesecakes
For portion control or easy serving at gatherings, consider transforming this recipe into individual mini lemon cheesecakes. Line a standard muffin tin with paper liners and press about 1 tablespoon of the graham cracker mixture into the bottom of each cup. Pre-bake these mini crusts for about 5 minutes.
Prepare the filling as directed and divide it evenly among the cups, filling each about ¾ full. Bake at 325°F (163°C) for about 20-22 minutes or until the centers are almost set. Cool completely, then refrigerate for at least 2 hours before topping with lemon curd and serving. This variation is perfect for parties or when you want to offer a variety of dessert options.
Serving Your Lemon Cheesecake
Elegant Presentation Ideas
A beautifully presented lemon cheesecake can become the centerpiece of any dessert table. After carefully removing the springform ring, transfer the cheesecake to a decorative serving plate or cake stand. For a classic presentation, spread lemon curd evenly over the top, creating a smooth, glossy surface.
“Here’s your guide to elegant dessert presentation with simple techniques.”
Pipe whipped cream rosettes around the edge using a star tip (Wilton 1M works beautifully), and garnish with thin lemon slices that have been patted dry to prevent excess moisture. For additional color and flavor contrast, scatter fresh berries like blueberries or raspberries between the whipped cream rosettes. A light dusting of powdered sugar adds a professional finishing touch without overwhelming the lemon flavor.
Perfect Slicing Techniques
Achieving clean, restaurant-quality slices of lemon cheesecake requires a simple technique. Start with a large, sharp knife that has been dipped in hot water and wiped dry. The heat helps the knife glide smoothly through the dense filling without dragging or creating crumbs.
Between each slice, wipe the knife clean and repeat the hot water dip. For the cleanest cuts, allow the cheesecake to chill thoroughly (at least 4 hours, preferably overnight). When serving, a thin metal spatula helps to lift each slice cleanly from the base without damaging the crust. Present each slice on its side to showcase the beautiful layers of crust, filling, and toppings.
Complementary Accompaniments
While lemon cheesecake is delicious on its own, thoughtfully chosen accompaniments can elevate the experience. Fresh berries – particularly raspberries, blueberries, or strawberries – provide a wonderful contrast in both flavor and texture. Their natural sweetness complements the tanginess of the lemon.
A small dollop of lightly sweetened whipped cream on the side allows guests to add as much or as little as they prefer. For a more elaborate dessert, consider offering a berry coulis made by blending fresh berries with a touch of sugar and straining for a smooth sauce. Coffee, tea, or a small glass of dessert wine can complete the experience, making your lemon cheesecake the perfect ending to any meal.
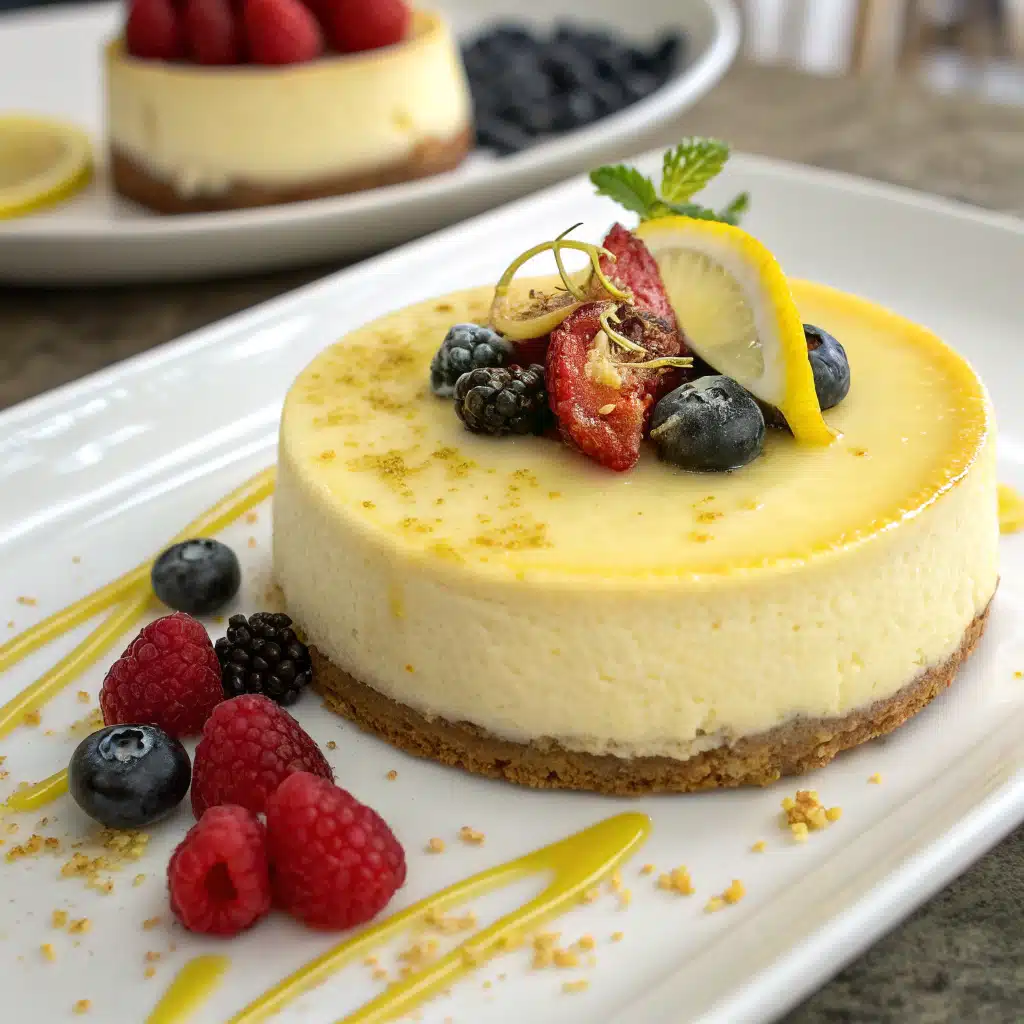
Frequently Asked Questions about Lemon Cheesecake
What is lemon cheesecake made of?
Lemon cheesecake consists of a graham cracker crust and a creamy filling made with cream cheese, sugar, eggs, fresh lemon juice, and lemon zest. Additional ingredients like sour cream and vanilla extract enhance the flavor and texture. The fresh lemon components provide the distinctive tangy flavor that makes this dessert so refreshing.
How do you make a creamy lemon cheesecake?
For the creamiest lemon cheesecake, use room-temperature ingredients, especially the cream cheese, which allows for proper incorporation without overbeating. The addition of sour cream contributes to the silky texture. Baking in a water bath provides gentle, even heat, while the slow cooling process prevents dramatic temperature changes that can affect texture. Finally, allowing the cheesecake to chill thoroughly (preferably overnight) helps develop the optimal creamy consistency.
What kind of crust is best for lemon cheesecake?
A graham cracker crust complements lemon cheesecake perfectly, as its subtle sweetness and slight nuttiness balance the tangy lemon filling. The buttery, crisp texture also provides a wonderful contrast to the creamy cheesecake. While traditional graham crackers are most common, variations can include vanilla wafers, shortbread cookies, or even gingersnaps for a more spiced flavor profile.
Can you make lemon cheesecake without baking?
Yes, lemon cheesecake can be made without baking. No-bake versions typically use whipped cream folded into a cream cheese and lemon mixture, with gelatin added as a stabilizer. The crust can be made from crushed cookies mixed with butter and chilled rather than baked. While the texture differs somewhat from baked versions—being lighter and more mousse-like—no-bake lemon cheesecakes offer a delicious alternative, especially during hot weather.
How do you keep lemon cheesecake from cracking?
Prevent cracks by using room temperature ingredients, avoiding overmixing after adding eggs, and baking in a water bath. The water bath provides humidity and ensures even, gentle heating. Don’t overbake—the center should still have a slight jiggle when done. After baking, turn off the oven, crack the door, and let the cheesecake cool gradually for an hour before removing it. This slow cooling process is crucial for preventing the dramatic temperature changes that cause cracks.
Should lemon cheesecake be refrigerated overnight?
Yes, refrigerating lemon cheesecake overnight is highly recommended. This extended chilling time allows the cheesecake to set completely and develops the flavors fully, particularly the lemon notes. The texture also improves with proper chilling, becoming firm enough to slice cleanly while maintaining its creamy consistency. For best results, allow at least 4 hours in the refrigerator, but overnight (8-12 hours) is ideal.
Conclusion: Mastering Lemon Cheesecake
Why Your Homemade Lemon Cheesecake Will Impress
Creating a homemade lemon cheesecake is truly an achievement worth celebrating. Unlike store-bought versions that often rely on artificial flavorings, your homemade creation showcases the genuine brightness of fresh lemons in every bite. The careful balance of tangy citrus and rich creaminess creates a sophisticated dessert that appeals to both casual and refined palates alike.
“Looking for inspiration? Try our other citrus-based recipes for more refreshing dessert ideas.”
What makes this lemon cheesecake particularly impressive is its professional appearance. The techniques outlined in this recipe—from the water bath method to the proper cooling process—result in a flawlessly smooth top without cracks. When adorned with lemon curd, whipped cream, and fresh garnishes, your creation will look as though it came from a high-end bakery, yet taste infinitely fresher.
Final Tips for Lemon Cheesecake Success
As you embark on your lemon cheesecake journey, remember that patience is perhaps the most important ingredient. Allow time for ingredients to come to room temperature, don’t rush the mixing or baking processes, and give the cheesecake adequate time to cool and chill. This patience will be rewarded with superior results.
Trust your instincts when baking—the cheesecake is done when the edges are set but the center still has a slight wobble. Remember that it will continue to set as it cools. Finally, don’t be afraid to make this recipe your own. Whether you prefer a thicker crust, more pronounced lemon flavor, or creative toppings, small adaptations can personalize this classic dessert to your taste preferences while maintaining its essential character.
PrintLemon Cheesecake

A perfectly creamy, tangy lemon cheesecake with a buttery graham cracker crust, topped with homemade lemon curd and fresh whipped cream.
- Prep Time: 30
- Cook Time: 65
- Total Time: 1 hour 35 minutes
- Yield: 12 1x
- Category: Dessert
- Cuisine: American
Ingredients
Graham Cracker Crust:
- 1 and 3/4 cups (210g) graham cracker crumbs (about 14 full-sheet graham crackers)
- 5 Tablespoons (71g) unsalted butter, melted
- 1/4 cup (50g) granulated sugar
Cheesecake:
- 1 and 1/4 cups (250g) granulated sugar
- 1 Tablespoon packed lemon zest (about 1 lemon)
- 32 ounces (904g) full-fat brick cream cheese, softened to room temperature
- 1/2 cup (120ml) fresh lemon juice (about 3–4 lemons), at room temperature
- 1/3 cup (80g) sour cream or plain yogurt, at room temperature
- 1 teaspoon pure vanilla extract
- 3 large eggs, at room temperature
Toppings:
- 3/4 cup lemon curd (highly recommended)
- homemade whipped cream
- lemon slices and/or fresh berries
Instructions
- Position oven rack in lower-middle position and preheat to 350°F (177°C).
- For the crust: Combine graham cracker crumbs and sugar, then mix in melted butter until mixture resembles wet sand. Press firmly into bottom and slightly up sides of 9-inch springform pan. Pre-bake for 10 minutes.
- Place hot crust on aluminum foil (for later water bath). Let cool slightly while preparing filling.
- For lemon sugar: Process sugar and lemon zest together until zest is incorporated, about 10-12 pulses.
- Beat cream cheese and lemon sugar with mixer until smooth and creamy, about 2 minutes. Add lemon juice, sour cream, and vanilla, beating until fully combined.
- Add eggs one at a time on medium speed, mixing just until incorporated after each. Avoid overmixing to prevent cracking.
- Pour batter into crust and smooth top. Place springform pan in larger roasting pan.
- Create water bath by carefully pouring hot water into roasting pan to create 1-inch depth around cheesecake.
- Bake for 55-70 minutes until center is almost set but slightly wobbly. If top browns too quickly, tent with foil.
- Turn off oven, crack door slightly, and let cheesecake cool in water bath for 1 hour.
- Remove from oven and water bath, then cool completely at room temperature.
- Spread lemon curd over cooled cheesecake, refrigerate at least 4 hours or overnight.
- Before serving, run knife around edge to release, then remove springform ring.
- Add whipped cream, lemon slices, and berries for garnish if desired.
- For clean slices, wipe knife between cuts and dip in warm water.
Notes
Nutrition facts are estimates and may vary based on ingredients used, portion sizes, and preparation methods. For best results, ensure all ingredients are at room temperature before starting. The water bath is crucial for preventing cracks in your cheesecake.
Nutrition
- Serving Size: 12
- Calories: 490Kcal
- Sugar: 36g
- Sodium: 320mg
- Fat: 34g
- Saturated Fat: 19g
- Carbohydrates: 40g
- Fiber: 1g
- Protein: 7g
- Cholesterol: 145mg
Keywords: lemon cheesecake, creamy cheesecake, citrus dessert, graham cracker crust
Let’s connect! Follow me for more Joylicious Recipes: Facebook, Instagram, Pinterest