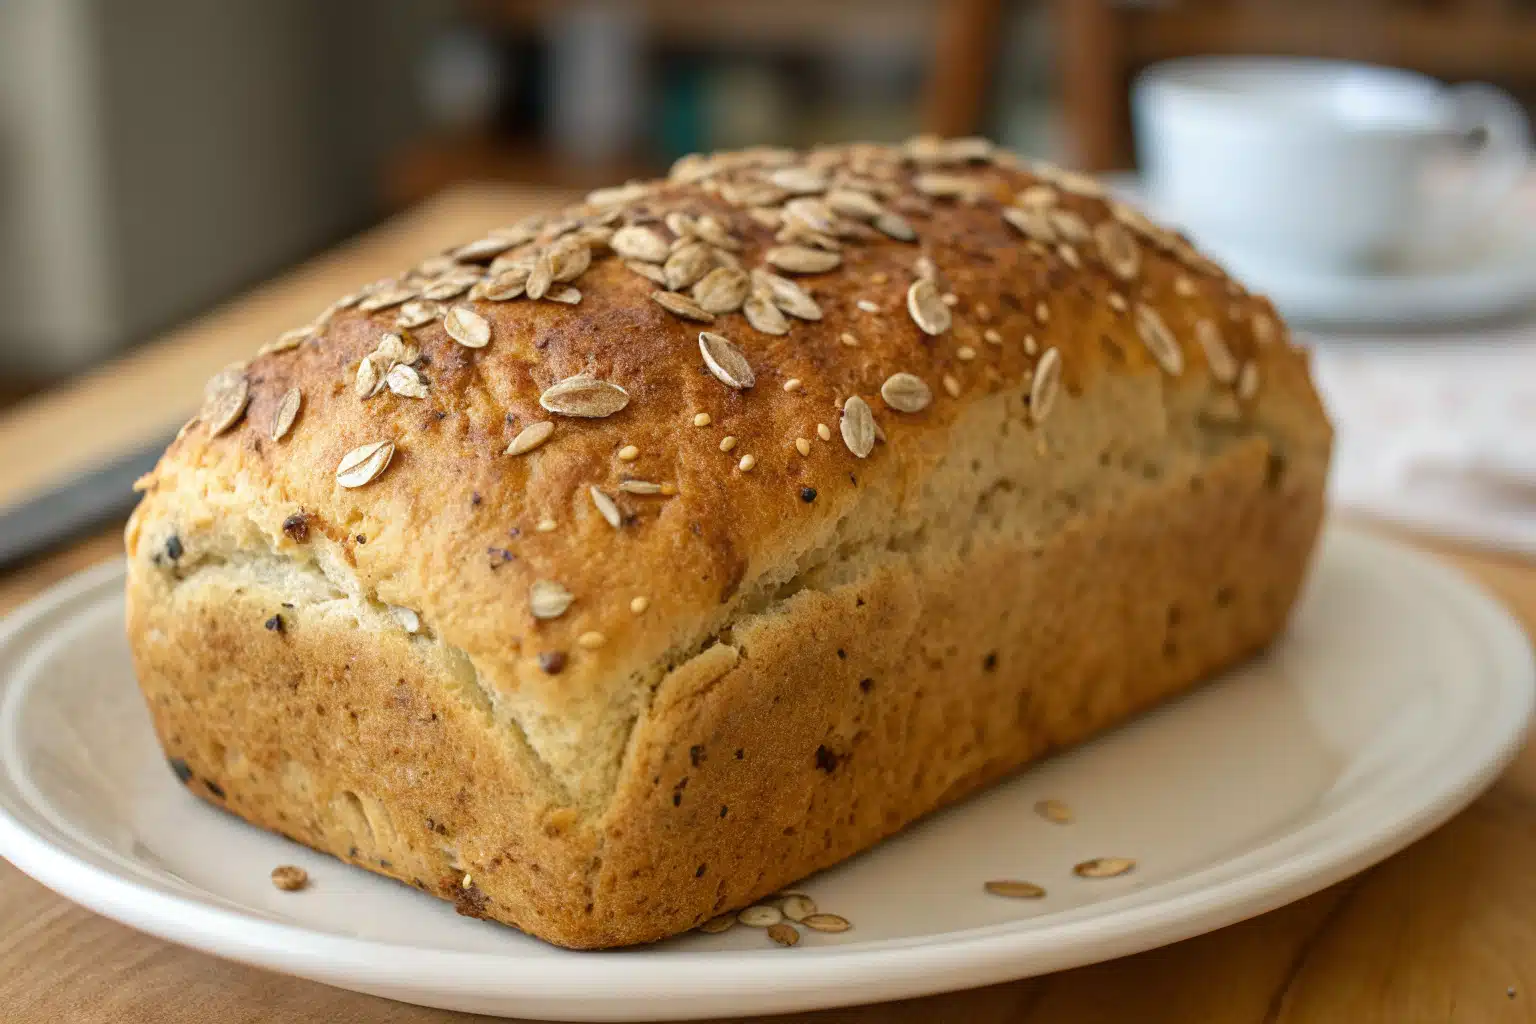
No Knead Seeded Oat Bread: The Best Easy Artisan Loaf You Can Make
Introduction: The Simple Joy of No Knead Bread
What Makes No Knead Seeded Oat Bread Special
No knead seeded oat bread represents the perfect marriage of convenience and artisanal quality. This rustic bread combines the nutty flavor of oats with the delightful crunch and nutritional benefits of various seeds, creating a wholesome loaf that’s surprisingly simple to make. Unlike traditional bread recipes that require extensive kneading to develop gluten, no knead seeded oat bread relies on time instead of effort, making it accessible even to novice bakers. The long, slow fermentation develops complex flavors while the mixture of seeds adds both texture and nutritional value.
The Science Behind No Knead Bread
The magic of no knead seeded oat bread lies in its science-backed simplicity. When you allow dough to rest for an extended period (typically 3-24 hours), the gluten strands naturally align and strengthen without mechanical kneading. This slow fermentation not only develops the structure needed for good bread but also enhances flavor complexity. Additionally, the combination of oats and various seeds introduces beneficial nutrients like fiber, protein, and healthy fats into your homemade loaf.
“Looking for inspiration? Try our easy condensed milk bread recipe for another simple baking project.”
Ingredients: Everything You Need for Perfect Seeded Oat Bread
The Foundation Ingredients
| Essential Ingredients | Amount | Notes |
|---|---|---|
| Bread flour | 3 cups (390g) | Spooned & leveled, plus more for shaping |
| Instant yeast | 2 teaspoons (about 6g) | Platinum Yeast from Red Star recommended |
| Old-fashioned whole rolled oats | 1 cup (85g) | Provides texture and nutty flavor |
| Warm water | 1 and 1/2 cups (360ml) | About 95°F (35°C) |
| Honey | 2 Tablespoons (43g) | Natural sweetener |
| Coarse salt | 2 teaspoons | Enhances flavor |
The Seed Mixture
| Seeds | Amount | Benefits |
|---|---|---|
| Pumpkin seeds (pepitas) | 1/4 cup (30g) | Rich in magnesium and zinc |
| Sunflower seeds | 1/4 cup (30g) | High in vitamin E and selenium |
| Flax seeds or sesame seeds | 2 Tablespoons (18g) | Omega-3 fatty acids or calcium |
| Optional: cornmeal | For dusting pan | Prevents sticking |
The Topping Mixture
| Topping Ingredients | Amount |
|---|---|
| Old-fashioned whole rolled oats | 1 Tablespoon (5g) |
| Pumpkin seeds (pepitas) | 1 Tablespoon (8g) |
| Sunflower seeds | 1 Tablespoon (8g) |
| Flax seeds or sesame seeds | 1 teaspoon |
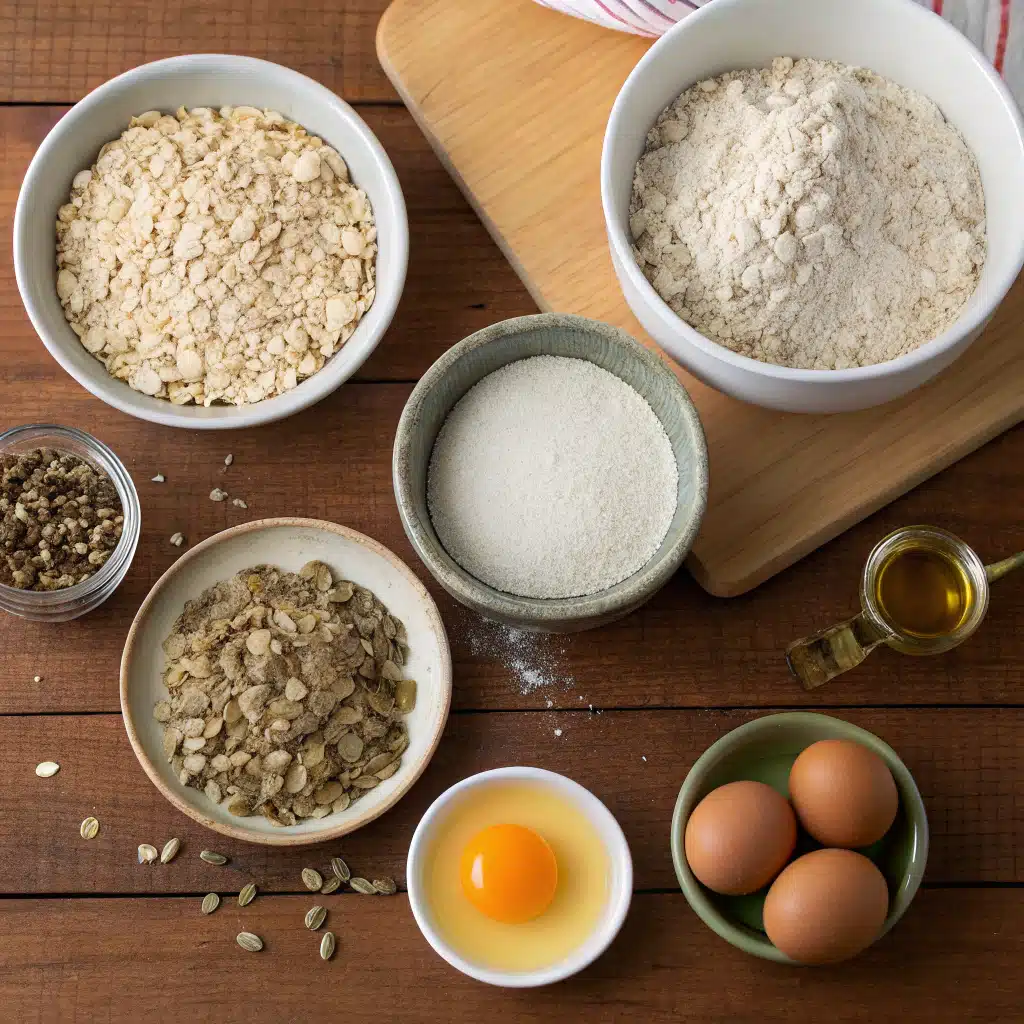
Step-by-Step: Making Your No Knead Seeded Oat Bread
Mixing and Initial Rise (Day 1)
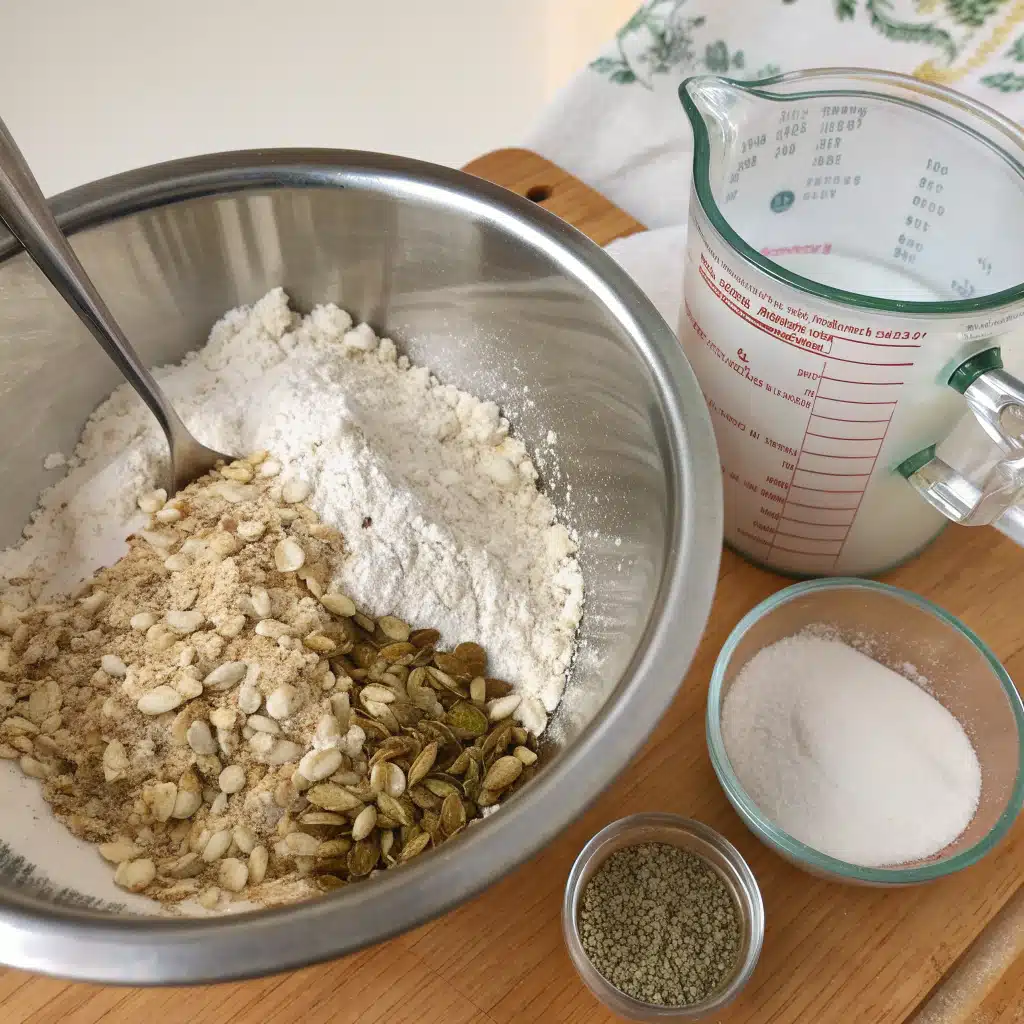
- In a large un-greased mixing bowl, thoroughly whisk together the bread flour and instant yeast until well combined.
- Add the rolled oats, pumpkin seeds, sunflower seeds, flax seeds, and salt to the flour mixture, then whisk again to distribute all ingredients evenly.
- In a separate small bowl, mix the honey with warm water until the honey dissolves completely.
- Pour the honey-water mixture over your dry ingredients and gently combine using a silicone spatula or wooden spoon.
- Continue mixing until all flour is moistened—the dough will appear shaggy and sticky at first, which is exactly what you want.
- If needed, use your hands to work the ingredients together, ensuring no dry spots remain. Remember, this dough is meant to be sticky!
- Shape the sticky mixture into a rough ball in the bowl as best you can. Don’t worry about perfection here.
- Cover the bowl tightly with plastic wrap or aluminum foil to prevent the dough from drying out.
- Allow the dough to rise at room temperature for approximately 3 hours, during which time it should nearly double in size and develop air bubbles.
“Discover great ideas like our chocolate raspberry overnight oats for another delicious way to incorporate oats into your diet.”
Cold Fermentation (Optional but Recommended)
- For the best flavor development, transfer your covered dough to the refrigerator after the initial rise.
- Let the dough rest in the refrigerator for at least 12 hours and up to 3 days. This cold fermentation significantly improves both texture and flavor.
- Don’t worry if the dough begins to deflate slightly after the second day—this is normal and won’t affect your final bread.
Shaping and Final Rise
- When ready to bake, lightly dust a nonstick baking sheet with flour or cornmeal to prevent sticking.
- Using generously floured hands, gently shape the risen dough into a ball, being careful not to deflate it too much.
- Transfer the shaped dough ball to your prepared baking sheet.
- Combine all topping ingredients (oats and seeds) in a small bowl and sprinkle evenly over the top of your dough ball.
- Press any loose seeds gently into the surface so they adhere during baking.
- Loosely cover the shaped dough and allow it to rest for an additional 45 minutes at room temperature.
- During this final rest, preheat your oven to 425°F (218°C).
Baking Perfect Bread
- When the oven is fully preheated and the dough has rested, use a very sharp knife or bread lame to score the top with an “X” or slash about 1/2 inch deep.
- If your shaped loaf has flattened during the rest period, use floured hands to gently reshape it before baking.
- Place the baking sheet with your scored dough on the center rack of the preheated oven.
- For a crispier crust, place a shallow metal pan on the bottom oven rack and carefully pour 3-4 cups of boiling water into it just before closing the oven door. This creates steam that helps develop a beautiful crust.
- Bake for approximately 40 minutes, or until the crust turns a deep golden brown.
- If the bread appears to be browning too quickly, tent it loosely with aluminum foil to prevent burning.
- To test for doneness, gently tap the bottom of the loaf—it should sound hollow. For more precision, an instant-read thermometer inserted into the center should read 195°F (90°C).
- Remove the finished bread from the oven and allow it to cool for at least 10-20 minutes before slicing.
Tips: Mastering Your No Knead Seeded Oat Bread
Troubleshooting Common Issues
Achieving perfect no knead seeded oat bread can sometimes involve a bit of troubleshooting. If your bread turns out dense, the most common culprits are insufficient rising time or using cold ingredients that slow yeast activity. Make sure your water is warm (about 95°F) but not hot, as excessive heat will kill the yeast. Another common issue is dough that spreads too much during the final rise. If this happens, try using a little more flour in your initial mix or shape the loaf in a parchment-lined bowl to help it maintain its form. Remember that this dough is naturally wetter than traditional bread dough, so don’t be tempted to add too much extra flour, which could make your bread dry and dense.
Working with Different Flours
While bread flour provides the best structure for no knead seeded oat bread due to its higher protein content, you can experiment with flour variations. For a more rustic loaf, replace up to 1 cup of bread flour with whole wheat flour, but be aware that this will create a denser texture and may require a touch more water. If you’re looking to increase the nutrition profile even further, you might incorporate 1/4 cup of rye flour or spelt flour. Just remember that when using alternative flours, the dough may need slightly longer fermentation time to develop properly.
“Here’s your guide to fluffy oatmeal pancakes without banana if you’re looking for more ways to use oats.”
Perfecting Your Crust and Crumb
The ideal no knead seeded oat bread features a crackling crust and an open, airy crumb. To enhance your crust development, don’t skip the steam step—those 3-4 cups of boiling water added to a pan in the oven make a significant difference. For an even more professional-style crust, consider baking on a preheated pizza stone or in a Dutch oven if you have one.
For the best interior crumb structure, handle the dough as minimally as possible during shaping, preserving those precious air bubbles that formed during fermentation. Be patient with the cooling process too—cutting into hot bread releases steam that can make the interior gummy, so allow at least 15-20 minutes of cooling time for optimal texture.
Storage: Keeping Your Bread Fresh
Short-Term Storage Methods
Properly storing your freshly baked no knead seeded oat bread is crucial for maintaining its texture and flavor. For short-term storage, simply keep your bread at room temperature in a bread box or loosely wrapped in a clean kitchen towel for up to 3 days. This method preserves the crisp crust better than plastic bags, which tend to soften the exterior.
If you don’t have a bread box, you can also store the bread cut-side down on a cutting board, covering just the exposed portion with a piece of foil or parchment paper. Avoid storing bread in the refrigerator as cold temperatures actually accelerate the staling process—counter-intuitive but scientifically proven!
“Don’t miss our fry bread recipe for another delicious homemade bread option.”
Freezing for Long-Term Freshness
For longer storage beyond three days, freezing your no knead seeded oat bread is the best approach. First, allow the bread to cool completely. Then, slice the entire loaf if desired (pre-slicing makes it easier to take just what you need later) and place in a freezer-safe bag, removing as much air as possible. Frozen bread maintains quality for up to 3 months.
To refresh frozen bread, simply thaw slices at room temperature for about 30 minutes or toast them directly from frozen. For whole or partial loaves, thaw at room temperature and then reheat in a 350°F oven for 5-10 minutes to restore the crust’s crispness. This method ensures you’ll always have fresh-tasting bread without preservatives.
Reviving Day-Old Bread
Even the best homemade no knead seeded oat bread will naturally begin to firm up after the first day. Fortunately, there are several effective methods for revitalizing day-old bread. The simplest approach is to lightly sprinkle the crust with water and heat the loaf in a 350°F oven for about 5-7 minutes. The moisture will rehydrate the bread while the heat crisps the exterior.
Another excellent option is to transform slightly stale bread into delicious toast, croutons, breadcrumbs, or French toast—all of which can actually benefit from bread that’s a day or two old. Remember that this natural hardening process is different from mold growth; properly stored homemade bread without preservatives may harden but should not develop mold for several days.
Variations: Creative Twists on Seeded Oat Bread
Sweet and Savory Flavor Additions
Your basic no knead seeded oat bread recipe serves as an excellent canvas for creative flavor variations. For a sweeter version, try adding 1/3 cup of dried cranberries or raisins along with 1 teaspoon of cinnamon to the dough. The natural sweetness pairs beautifully with the nutty seeds and oats. If you prefer savory flavors, consider incorporating 2 tablespoons of chopped fresh rosemary and 1/4 cup of grated Parmesan cheese, or 1 tablespoon of dried herbs like Italian seasoning blend.
For a Mediterranean twist, add 1/3 cup of chopped Kalamata olives and 1 tablespoon of dried oregano. These additions should be folded into the dough during the initial mixing stage to allow the flavors to develop during fermentation.
Experimenting with Different Seeds
While the standard recipe calls for pumpkin, sunflower, and flax or sesame seeds, the world of seed combinations for no knead seeded oat bread is virtually limitless. Try a Nordic-inspired loaf with a tablespoon each of caraway, poppy, and fennel seeds for a distinctive flavor profile. For added protein, incorporate 2 tablespoons of hemp seeds or chia seeds, which also contribute healthy omega fatty acids.
Toasted pine nuts make for a luxurious addition, while nigella seeds (black cumin) add a subtle onion-like flavor. When experimenting with different seeds, maintain approximately the same total volume as in the original recipe to preserve the dough’s consistency. Remember that some smaller seeds like poppy or chia will absorb more moisture, so you might need to add an extra tablespoon of water.
“Check out our cottage cheese bread recipe for another creative bread variation.”
Alternative Shapes and Forms
Though the traditional boule (round loaf) shape works beautifully for no knead seeded oat bread, don’t be afraid to explore different forms. For a more rustic presentation, divide the dough in half after the cold fermentation and shape into two smaller loaves, reducing the baking time by about 5-7 minutes. For sandwich-friendly bread, you can shape the dough into a log and bake it in a parchment-lined loaf pan. For a dinner party presentation, try forming small individual rolls (about 12 from a single batch) and reduce baking time to approximately 25 minutes. Another option is to flatten the dough into a focaccia-style rectangle on a well-oiled baking sheet, dimple the surface with your fingertips, and add extra seeds and a light sprinkle of coarse salt before baking.
Serving: Enjoying Your Homemade Bread
Perfect Pairings for Breakfast
No knead seeded oat bread elevates any breakfast spread with its hearty texture and nutty flavor. For a simple yet satisfying morning meal, toast thick slices and top with avocado, a sprinkle of red pepper flakes, and a drizzle of olive oil. The bread also pairs beautifully with natural nut butters like almond or cashew, especially when topped with sliced bananas or a swirl of honey.
For a protein-rich breakfast, serve toasted seeded oat bread alongside soft-scrambled eggs with fresh herbs. If you prefer sweeter breakfasts, this bread makes exceptional French toast—simply soak slices in a mixture of eggs, milk, cinnamon, and vanilla before cooking in butter until golden. The seeds add wonderful texture that regular French toast lacks.
Creating Impressive Lunch Sandwiches
The robust nature of no knead seeded oat bread makes it perfect for constructing memorable sandwiches that won’t get soggy. Try building a Mediterranean vegetable sandwich with hummus, roasted red peppers, cucumber, feta cheese, and fresh spinach. For a heartier option, layer slices of roasted turkey or chicken with apple slices, sharp cheddar, and whole grain mustard.
The bread’s texture stands up particularly well to slightly wet ingredients like tomatoes without becoming mushy. Another excellent application is an open-faced sandwich: top a thick slice with ricotta cheese, honey, and fresh figs, or try smashed white beans with lemon, herbs, and a drizzle of quality olive oil. The seeds in the bread add complementary crunch and nutrition to any sandwich creation.
Dinner Accompaniments and Appetizers
No knead seeded oat bread transforms dinner into a special occasion, particularly when served warm. Slice the bread about 30 minutes before your meal and warm it briefly in a 300°F oven for 5 minutes for an irresistible aroma and texture. Serve alongside hearty soups or stews where the bread can be used to soak up flavorful broths—it pairs especially well with vegetable-based soups like butternut squash or lentil. For entertaining, cut the bread into small cubes, toast them in the oven with olive oil and herbs to make gourmet croutons for salads, or use as the base for elegant crostini topped with seasonal ingredients.
“Want more ideas? Check out garlic parmesan chicken pasta for a perfect main course to serve with your fresh bread.”
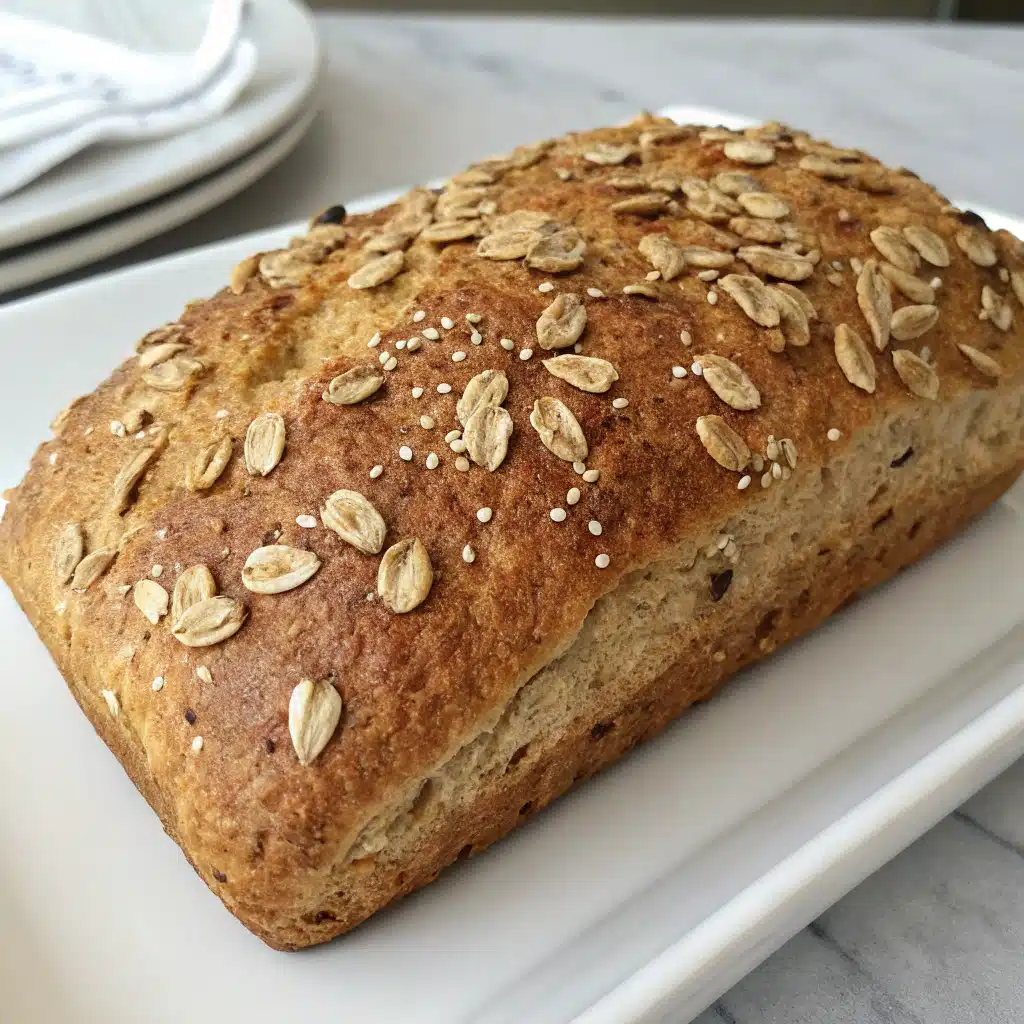
FAQs: Your No Knead Seeded Oat Bread Questions Answered
What is no knead seeded oat bread?
No knead seeded oat bread is a rustic, artisan-style bread that combines the nutritional benefits of oats and various seeds with the simplicity of a no-knead technique. Instead of traditional kneading, this bread develops its structure through a long, slow fermentation process, resulting in a flavorful loaf with a crispy crust and tender interior. The addition of oats and seeds provides extra texture, nutrition, and a delightful nutty flavor.
How do you make no knead bread with oats and seeds?
To make no knead bread with oats and seeds, you simply mix flour, oats, seeds, salt, and yeast with warm water and honey, then let the dough rest for at least 3 hours at room temperature. For best results, refrigerate the dough for 12 hours to 3 days before shaping, allowing a final 45-minute rise, and baking in a hot oven. The long fermentation replaces the need for kneading, while developing complex flavors and texture.
What seeds work best in seeded oat bread?
The most successful seeds for seeded oat bread include pumpkin seeds, sunflower seeds, flax seeds, and sesame seeds—all of which provide complementary flavors and textures. Other excellent options include poppy seeds, chia seeds, hemp seeds, and caraway seeds. For best results, use a combination of larger seeds (like pumpkin and sunflower) along with smaller seeds (like flax or sesame) to create varied texture and ensure even distribution throughout the loaf.
How long should no knead bread rise?
No knead bread typically requires a two-stage rising process: an initial rise of about 3 hours at room temperature, followed ideally by a cold fermentation in the refrigerator for 12 hours to 3 days. After shaping, a final rest of 45 minutes allows the dough to relax before baking. This extended fermentation is what develops the bread’s flavor and structure without kneading.
Can I use instant yeast for no knead bread?
Yes, instant yeast works perfectly for no knead bread and is actually preferred because it can be mixed directly with dry ingredients without being activated in water first. The recipe calls for 2 teaspoons (about 6g) of instant yeast, which provides reliable rising even with the long fermentation process. Active dry yeast can also be used, but it’s best to proof it in the warm water for 5 minutes before adding to the dry ingredients.
Why is my no knead bread dense?
Dense no knead bread usually results from insufficient rising time, improper dough hydration, or insufficient gluten development during fermentation. To avoid density issues, ensure your water is warm (not hot or cold), allow the full rising time specified in the recipe, and don’t add too much extra flour when shaping. Also, be gentle when handling the dough after fermentation to preserve air bubbles that create an open crumb structure.
Conclusion: Why You’ll Love This Recipe
The Reward of Simple Artisan Baking
The beauty of no knead seeded oat bread lies in its remarkable contradiction: it delivers professional bakery-quality results with minimal hands-on effort. This recipe transforms a few simple ingredients into a stunning loaf with a crackling crust, tender interior, and complex flavor profile that would make any artisan baker proud.
The method honors the ancient traditions of breadmaking while adapting them to our modern, busy lives. Even if you’ve never successfully baked bread before, this forgiving recipe offers an excellent entry point into the world of artisanal baking. The sense of accomplishment you’ll feel when pulling your first golden loaf from the oven is unmatched—particularly when you realize how little active work was required to achieve such impressive results.
“Learn more about no knead seeded oat bread in our complete guide.”
Health Benefits and Wholesome Nutrition
Beyond its impressive taste and texture, no knead seeded oat bread offers substantial nutritional advantages over typical store-bought varieties. The inclusion of whole oats provides soluble fiber that supports heart health and helps maintain steady blood sugar levels. The diverse seed mixture contributes essential minerals like magnesium, iron, and zinc, plus heart-healthy omega-3 fatty acids from flax seeds.
Unlike many commercial breads loaded with preservatives and unnecessary additives, this homemade version contains only wholesome ingredients you can pronounce. The long fermentation process may also make the bread’s nutrients more bioavailable and easier to digest. By baking this bread yourself, you’re not only creating something delicious but also nourishing your body with quality ingredients in their most natural form.
PrintNo Knead Seeded Oat Bread
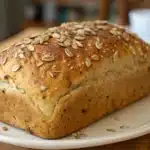
A simple yet impressive artisan bread featuring wholesome oats and nutritious seeds with minimal hands-on effort.
- Prep Time: 20
- Cook Time: 40
- Total Time: 1 hour
- Yield: 1 1x
- Category: Bread
- Cuisine: American
Ingredients
- 3 cups (390g) bread flour (spooned & leveled), plus more as needed for shaping and pan
- 2 teaspoons (about 6g) Platinum Yeast from Red Star instant yeast
- 1 cup (85g) old-fashioned whole rolled oats
- 1/4 cup (30g) unsalted pumpkin seeds (pepitas)
- 1/4 cup (30g) salted or unsalted sunflower seeds
- 2 Tablespoons (18g) flax seeds or sesame seeds
- 2 teaspoons coarse salt
- 2 Tablespoons (43g) honey
- 1 and 1/2 cups (360ml) warm water (about 95°F (35°C))
- optional: cornmeal for dusting pan
Topping:
- 1 Tablespoon (5g) old-fashioned whole rolled oats
- 1 Tablespoon (8g) pumpkin seeds (pepitas)
- 1 Tablespoon (8g) sunflower seeds
- 1 teaspoon flax seeds or sesame seeds
Instructions
- In a large bowl, whisk together flour and yeast. Add oats, seeds, and salt, whisking to combine.
- Mix honey and warm water, then pour over dry ingredients. Stir with a spatula or wooden spoon until all flour is moistened. The dough will be sticky.
- Shape into a rough ball in the bowl, cover tightly with plastic wrap or aluminum foil, and let rise at room temperature for 3 hours.
- For best flavor, refrigerate covered dough for at least 12 hours and up to 3 days.
- Dust a nonstick baking sheet with flour or cornmeal. Using floured hands, gently shape dough into a ball and place on prepared sheet.
- Mix topping ingredients and sprinkle over dough, pressing seeds in if needed. Cover loosely and let rest 45 minutes.
- Meanwhile, preheat oven to 425°F (218°C).
- Score dough with an X about 1/2 inch deep using a sharp knife.
- For crispier crust, place a shallow pan on bottom rack and pour in 3-4 cups boiling water just before baking.
- Bake for 40 minutes until golden brown. Bread is done when it sounds hollow when tapped or reaches 195°F (90°C) internally.
- Cool for at least 10-20 minutes before slicing.
Notes
Store leftovers loosely covered at room temperature for up to 3 days or refrigerate for up to 10 days. For longer storage, freeze for up to 3 months. Nutrition facts are estimates and may vary based on ingredients used, portion sizes, and preparation methods.
Nutrition
- Serving Size: 1
- Calories: 210 Kcal
- Sugar: 3g
- Sodium: 390mg
- Fat: 4.5g
- Saturated Fat: 0.5g
- Carbohydrates: 36g
- Fiber: 3g
- Protein: 7g
Keywords: no knead bread, seeded bread, oat bread, homemade bread, artisan bread, easy bread recipe
Let’s connect! Follow me for more Joylicious Recipes: Facebook, Instagram, Pinterest