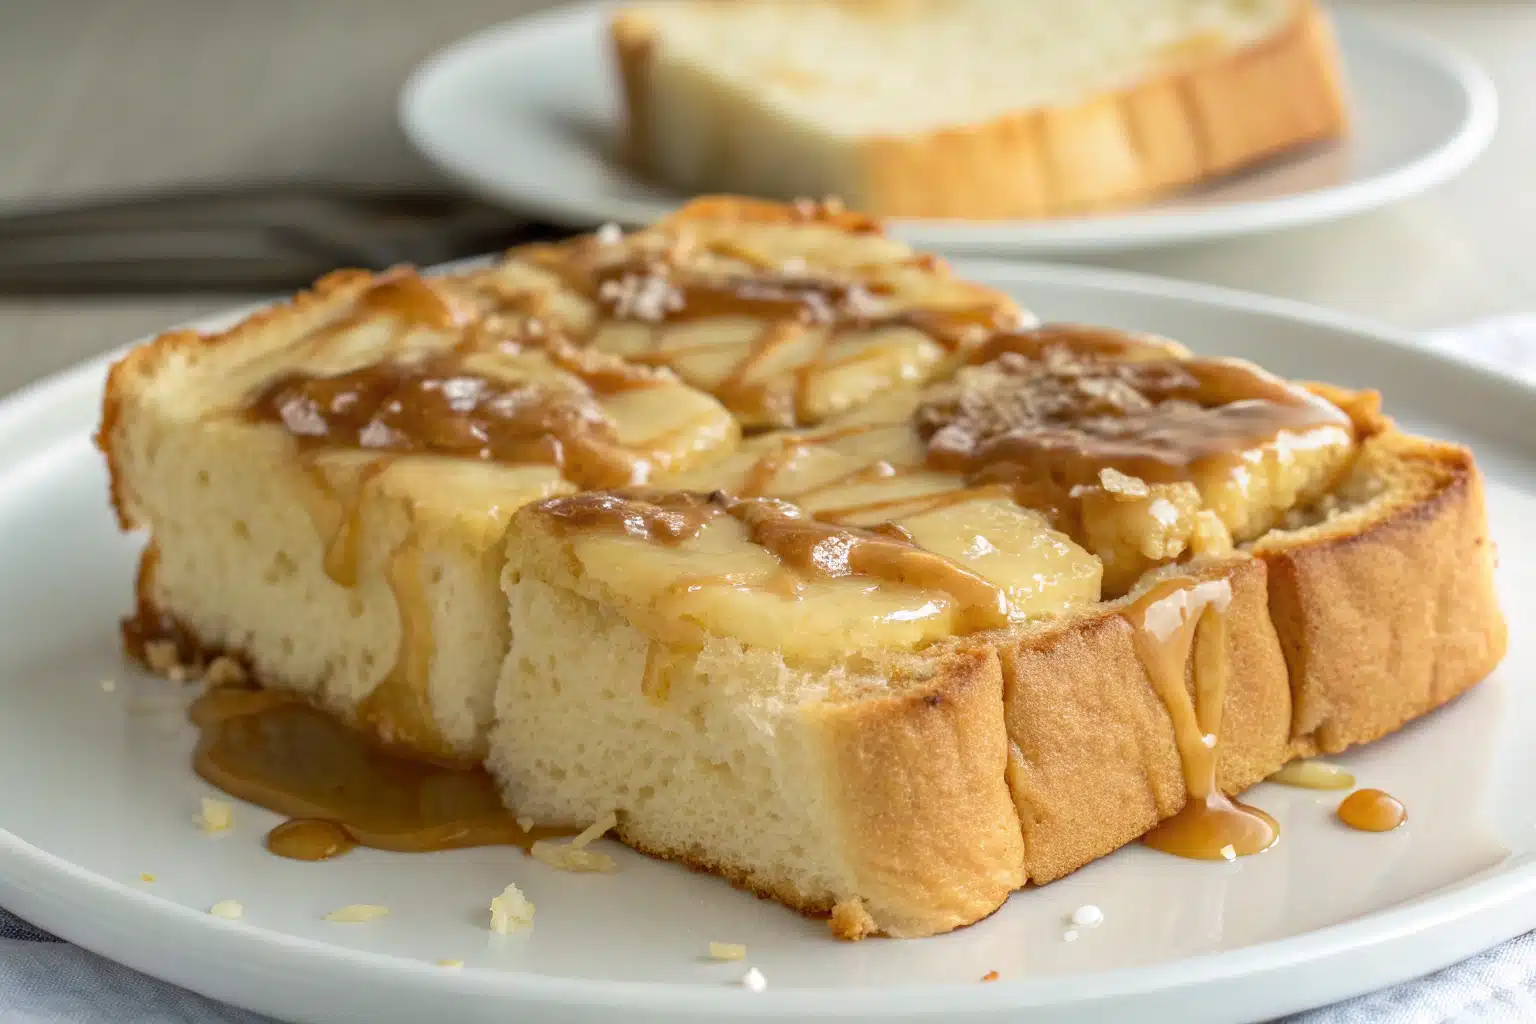
The Best Condensed Milk Bread – Soft Texture and Sweet Perfection
Introduction: Discover the Magic of Condensed Milk Bread
Condensed milk bread has gained immense popularity for its unmatched softness and delicate sweetness. This special bread combines the richness of sweetened condensed milk with traditional bread ingredients to create a texture that’s pillowy soft and a flavor that’s subtly sweet. Whether you’re an experienced baker or just starting your bread-making journey, this condensed milk bread recipe will quickly become a favorite in your home.
What Makes Condensed Milk Bread Special
The secret to this bread’s exceptional quality lies in the sweetened condensed milk. This thick, creamy ingredient adds moisture, tenderness, and a hint of caramelized sweetness that elevates ordinary bread to something extraordinary. Unlike many sweet breads that can be overwhelming, condensed milk bread maintains perfect balance – sweet enough to enjoy on its own but versatile enough to pair with both sweet and savory toppings.
“Learn more about how condensed milk enhances baked goods in our easy condensed milk bread recipe.”
A Brief History of Enriched Breads
Condensed milk bread belongs to the family of enriched breads, which have a long history across various cultures. These breads incorporate fat, eggs, sugar, or milk to create softer textures and richer flavors than standard yeast breads. From Asian milk bread to European brioche, enriched breads have been beloved worldwide for generations. The addition of sweetened condensed milk represents a more modern twist that brings exceptional moisture and keeping qualities to this delightful bread.
Ingredients: Everything You Need for Perfect Condensed Milk Bread
The Essential Components
To make condensed milk bread that’s perfectly soft and delicious, you’ll need the following ingredients:
| Ingredient | Amount | Notes |
|---|---|---|
| Milk, lukewarm | 2/3 cups | Temperature should be around 105-110°F |
| Dried active yeast | 2 tsp | Ensure it’s fresh for proper rising |
| All-purpose flour | 2.5 cups | Unbleached preferred for best texture |
| Sugar | 2 tsp | Helps activate the yeast |
| Sweetened condensed milk | 1/4 cup | The star ingredient for softness |
| Butter, softened | 4 tbsp | Salted butter is recommended |
| Milk for brushing | 1.5 tbsp | Creates a golden brown crust |
| Butter for finishing | As needed | Brushed on hot bread for shine |
Understanding the Role of Each Ingredient
The condensed milk bread recipe relies on a careful balance of ingredients. The lukewarm milk activates the yeast, while the sweetened condensed milk provides both sweetness and fat that tenderizes the gluten in the flour. The butter adds richness, and the sugar not only feeds the yeast but also contributes to the bread’s golden color. Each component plays a crucial role in developing the bread’s signature texture and taste.
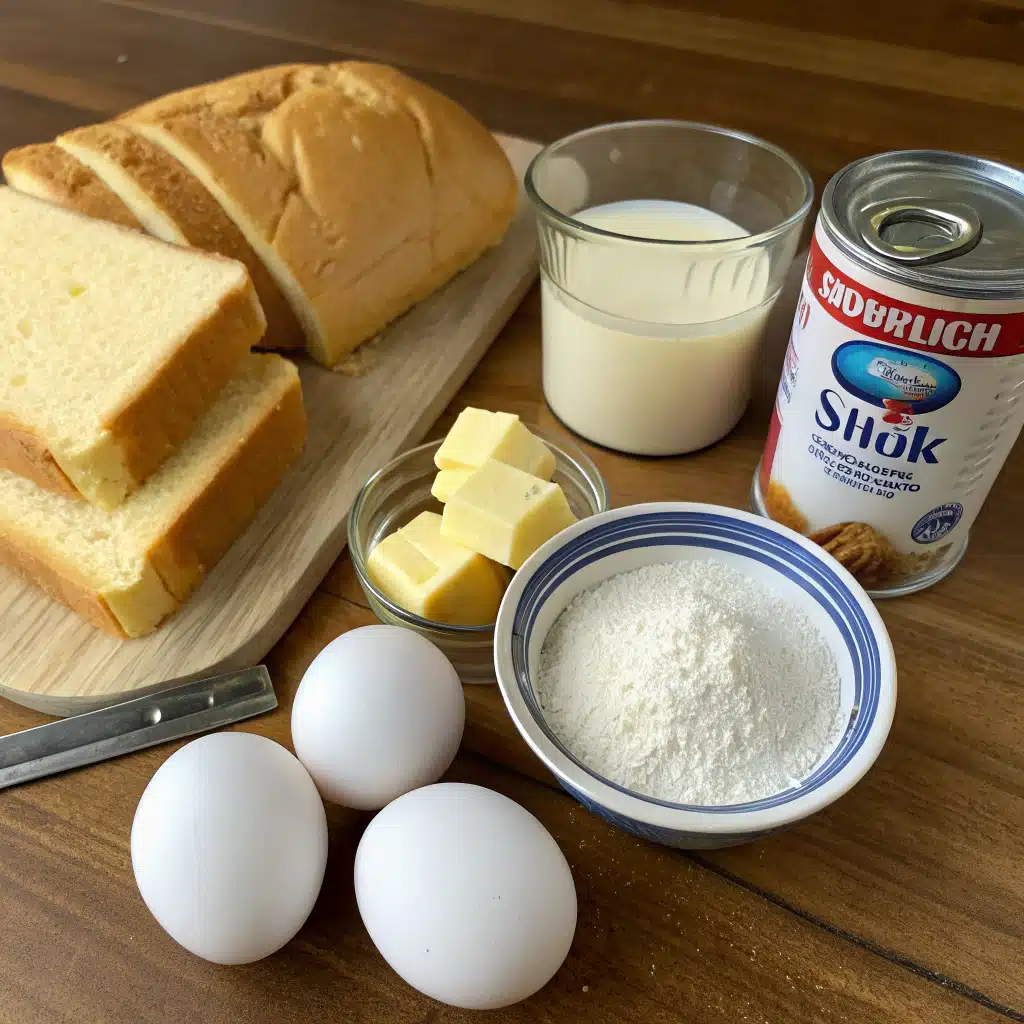
Step-by-Step: Making Condensed Milk Bread from Scratch
Activating the Yeast and Preparing the Dough
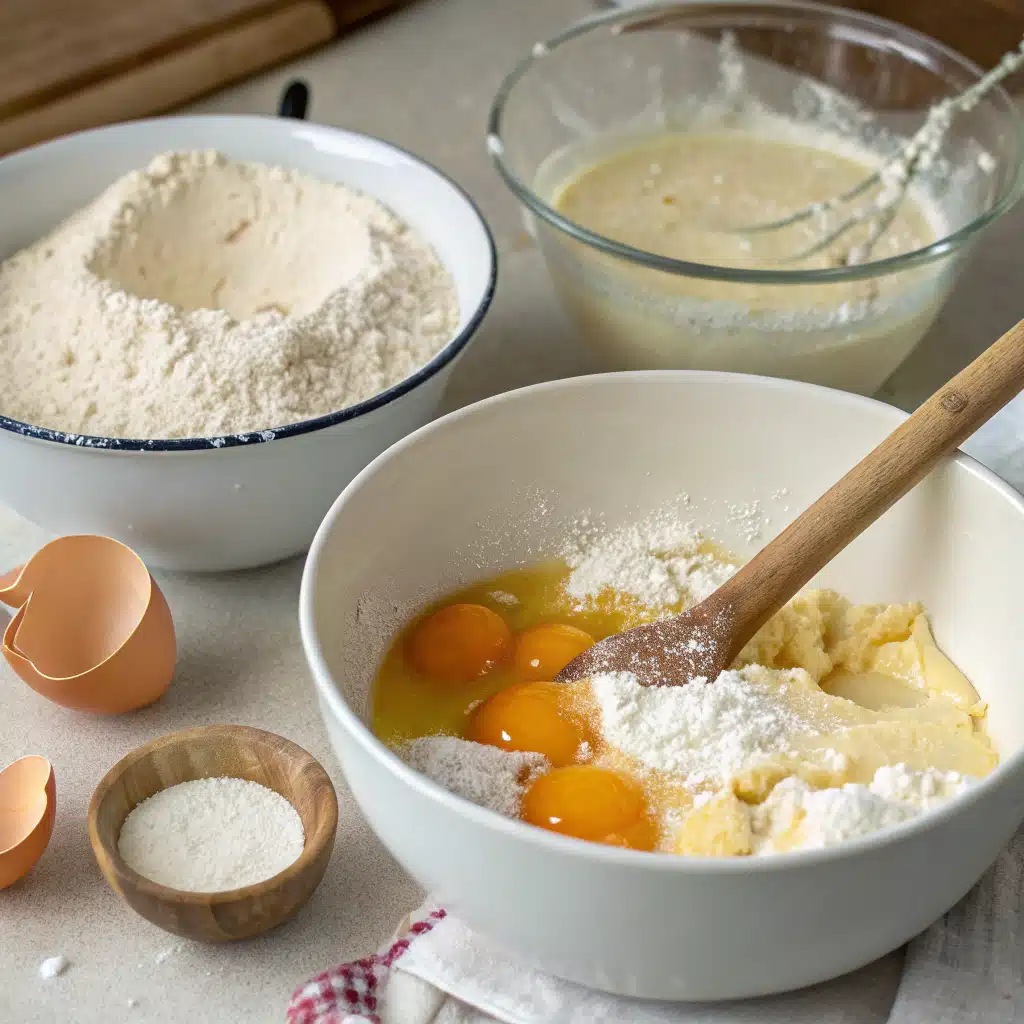
In a small bowl, combine the lukewarm milk (2/3 cups), dried active yeast (2 tsp), and a pinch of sugar. Stir gently and let this mixture sit for 5-10 minutes until it becomes frothy, which indicates the yeast is active.
While waiting for the yeast, prepare your stand mixer bowl by adding the all-purpose flour (2.5 cups), remaining sugar (about 1.5 tsp), sweetened condensed milk (1/4 cup), and softened butter (4 tbsp).
Once your yeast mixture is frothy, pour it into the bowl with the dry ingredients. Using a spatula, combine everything until it forms a rough, shaggy dough. “Don’t miss our banana bread with mayo for another unique twist on traditional bread recipes.”
Cover the bowl with a clean kitchen towel and allow the dough to rest for 15-20 minutes. This resting period, called autolyse, helps the flour absorb the liquid and begins gluten development, making the kneading process easier.
Kneading and First Rise
After the resting period, attach the dough hook to your stand mixer and begin kneading at low speed for 3-4 minutes.
Increase to medium-high speed and continue kneading for another 10-12 minutes. The dough is ready when it becomes smooth and elastic, pulling away from the sides of the bowl while remaining slightly tacky but not sticky.
Transfer the kneaded dough to a lightly oiled bowl, turning it once to coat all sides. Cover with a damp kitchen towel or plastic wrap.
Place the covered bowl in a warm, draft-free area for about 60 minutes, or until the dough has doubled in size. The ideal temperature for rising is around 75-80°F (24-27°C).
Shaping and Second Rise
While waiting for the dough to rise, prepare a 9-inch square baking pan by lining it with parchment paper.
Once the dough has doubled, gently punch it down to release the air bubbles and transfer it to a lightly floured work surface.
Shape the dough into a log, then divide it into 9 equal pieces (approximately 76-77 grams each if using a kitchen scale).
Roll each piece into a smooth ball by cupping your hand over the dough and moving in a circular motion against the work surface.
Arrange the dough balls in the prepared pan in a 3×3 grid pattern, leaving a small gap between each one.
Cover the pan with a damp kitchen towel and allow the rolls to undergo a second proofing for 30-45 minutes until they look puffy and have nearly doubled in size.
Baking to Golden Perfection
While the rolls are on their second rise, preheat your oven to 400°F (200°C).
Once the rolls have finished proofing, gently brush the tops with the reserved milk (1.5 tbsp) to promote browning.
Bake in the preheated oven for 20-25 minutes, or until the tops are beautifully golden brown. If the tops are browning too quickly, loosely cover with aluminum foil.
Immediately after removing from the oven, brush the hot rolls with butter to give them a soft crust and beautiful shine.
Allow the bread to cool in the pan for 5 minutes, then transfer to a wire rack to cool completely (though these are absolutely delicious when still warm!).
Tips: Mastering Your Condensed Milk Bread
Troubleshooting Common Issues
Bread making can sometimes present challenges, but these solutions will help you overcome the most common problems with condensed milk bread:
If your dough isn’t rising properly, check the expiration date on your yeast and ensure your milk wasn’t too hot (which could kill the yeast) or too cold (which won’t activate it). The perfect temperature range is 105-110°F.
For dough that’s too sticky, add flour one tablespoon at a time during kneading. If it’s too dry, add milk in small increments. The dough should feel tacky but not stick to your fingers.
If your bread is browning too quickly but isn’t cooked through, lower your oven temperature by 25 degrees and tent the bread with foil to protect the top while allowing the center to finish baking.
“Want more ideas? Check out our lemon blueberry bread for another delicious baking project.”
Making Condensed Milk Bread Without a Stand Mixer
While a stand mixer makes the process easier, you can absolutely make condensed milk bread by hand:
Follow the same steps for activating the yeast and combining ingredients to form a shaggy dough.
Instead of machine kneading, turn the dough onto a lightly floured surface and knead by hand for about 15-20 minutes. The technique involves pushing the dough away with the heel of your hand, folding it back over itself, giving it a quarter turn, and repeating.
You’ll know you’ve kneaded enough when the dough becomes smooth, elastic, and passes the “window pane test” – a small piece can be stretched thin enough to see light through without tearing.
Tips for the Perfect Texture
The hallmark of great condensed milk bread is its incredibly soft, fluffy texture. To achieve this:
Don’t rush the kneading process – this develops the gluten structure that gives the bread its perfect texture.
Be patient with both rise times. Under-proofed bread will be dense, while over-proofed bread can collapse during baking.
Maintain a warm environment for rising – around 75-80°F is ideal. In cold weather, you can create a warm spot by placing the dough near (not on) a heating vent or in an oven that has been warmed to about 100°F then turned off.
Storage: Keeping Your Condensed Milk Bread Fresh
Short-Term Storage Solutions
Condensed milk bread stays fresher longer than many homemade breads thanks to the moisture from the condensed milk and butter. To keep it at its best:
Store completely cooled bread in an airtight container or resealable plastic bag at room temperature for up to 3 days. Adding a piece of paper towel in the container can help absorb excess moisture and prevent sogginess.
If you prefer warm bread, simply reheat individual portions in the microwave for 10-15 seconds or in a 350°F oven for about 5 minutes.
“Check out our cottage cheese bread recipe for another bread that stores exceptionally well.”
Freezing for Long-Term Storage
Condensed milk bread freezes beautifully, allowing you to enjoy homemade bread anytime:
For whole loaves or partial loaves, wrap tightly in plastic wrap, then aluminum foil, and place in a freezer bag with the air pressed out. Label with the date and freeze for up to 3 months.
For individual rolls, wrap each one separately in plastic wrap, place in a freezer bag, and freeze for up to 3 months. This allows you to thaw only what you need.
To thaw, leave the bread at room temperature in its wrapping for several hours or overnight. For the freshest taste, reheat thawed bread in a 350°F oven for 5-7 minutes or until warmed through.
Reviving Day-Old Bread
Even slightly stale condensed milk bread can be brought back to life:
Sprinkle the bread lightly with water, wrap in aluminum foil, and heat in a 350°F oven for about 10 minutes.
Alternatively, wrap the bread in a damp (not wet) paper towel and microwave for 10 seconds at a time until soft and warm.
Variations: Creative Twists on Condensed Milk Bread
Sweet Variations
The basic condensed milk bread recipe serves as a perfect canvas for sweet adaptations:
Cinnamon Sugar: Before shaping the dough balls, roll each piece in a mixture of cinnamon and sugar for a sweet, spiced version.
Chocolate Chip: Gently fold 1/2 cup of mini chocolate chips into the dough after the first kneading.
Fruit-Filled: After dividing the dough, flatten each piece, add a spoonful of fruit preserves or Nutella in the center, then seal and shape into balls with the filling inside.
“Looking for inspiration? Try our blueberry muffins recipe for more ideas on incorporating fruit into baked goods.”
Savory Adaptations
Despite its subtle sweetness, condensed milk bread can be adapted for savory applications:
Cheese: Add 1/2 cup of shredded cheese (such as cheddar or mozzarella) to the dough during mixing.
Garlic Herb: Incorporate 2 minced garlic cloves and 1 tablespoon of fresh herbs (rosemary, thyme, or parsley) into the dough.
Everything Bagel: Brush the tops with egg wash instead of milk before baking, then sprinkle with everything bagel seasoning for a flavorful crust.
International Inspirations
Around the world, different cultures have their own versions of enriched bread that you can recreate using this condensed milk bread dough:
Asian-Style Milk Bread: Shape the dough into a loaf using the traditional Japanese technique of folding the dough into thirds multiple times.
Hong Kong-Style Pineapple Buns: Top the dough balls with a sweet, crumbly topping made from butter, sugar, and flour before baking.
Filipino Ensaymada: Shape the dough into coils, then top with butter, sugar, and cheese after baking for a Filipino-inspired treat.
Serving: Enjoying Your Condensed Milk Bread
Breakfast Ideas
Start your morning right with these delicious ways to enjoy condensed milk bread:
Classic breakfast: Lightly toast a slice and spread with butter and your favorite jam or honey.
French toast: The slight sweetness of condensed milk bread makes it perfect for French toast – simply dip in an egg mixture and cook until golden.
Breakfast sandwich: Split a roll horizontally, toast lightly, and fill with scrambled eggs, cheese, and avocado for a satisfying start to the day.
Snack and Dessert Applications
The versatility of condensed milk bread shines in these sweet applications:
Bread pudding: Cubed condensed milk bread makes an exceptional base for bread pudding due to its already tender texture and hint of sweetness.
Ice cream sandwich: Slice a roll in half horizontally, add a scoop of slightly softened ice cream, and freeze for a unique homemade treat.
“Here’s your guide to creating perfect ice cream pairings for your condensed milk bread.”
Sweet fondue dipper: Cut the bread into cubes and serve alongside chocolate or caramel fondue for a delightful dessert.
Perfect Pairings
Complete your condensed milk bread experience with these complementary beverages and spreads:
Coffee and tea: The subtle sweetness of the bread pairs beautifully with the slight bitterness of coffee or the aromatic qualities of tea.
Homemade flavored butters: Whip softened butter with honey, cinnamon, or maple syrup to create a special spread that enhances the bread’s flavor.
Fruit compotes: Simmer fresh or frozen berries with a little sugar until thick for a perfect topping that balances the bread’s richness.
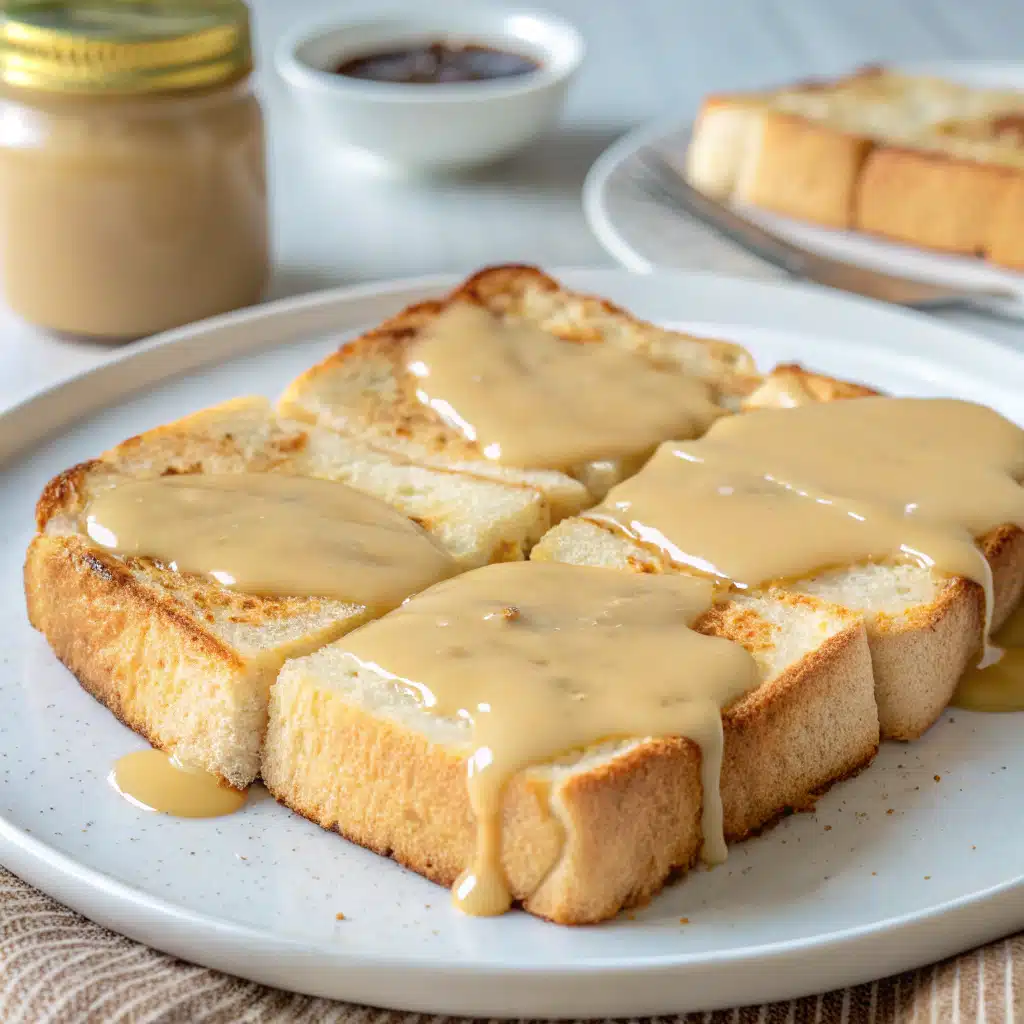
FAQs: Common Questions About Condensed Milk Bread
What is condensed milk bread made of?
Condensed milk bread is made from basic bread ingredients including flour, yeast, milk, and butter, but with the special addition of sweetened condensed milk. This key ingredient gives the bread its distinctive soft texture and subtly sweet flavor that sets it apart from regular bread. The sweetened condensed milk contributes to both the moisture content and the tenderness of the crumb.
How do you make condensed milk bread from scratch?
Making condensed milk bread from scratch involves activating yeast in warm milk, combining it with flour, sugar, condensed milk, and butter, then kneading until smooth and elastic. After the first rise, the dough is shaped into rolls or a loaf, allowed to rise again, and then baked until golden. The process takes about 3 hours total, including rising times, but only about 30 minutes of active work.
What role does sweetened condensed milk play in the bread?
Sweetened condensed milk serves multiple important functions in this bread recipe. It adds natural sweetness without being overwhelming, contributes fat that tenderizes the gluten structure, provides moisture that keeps the bread soft for days, and promotes beautiful browning during baking. The result is a bread with an exceptionally soft texture, subtle sweetness, and excellent shelf life.
How long does it take to bake condensed milk bread?
Condensed milk bread typically takes 20-25 minutes to bake in a preheated 400°F (200°C) oven. You’ll know it’s done when the tops are golden brown and the bread sounds hollow when tapped on the bottom. If the bread is browning too quickly but isn’t done inside, you can cover it loosely with foil for the remainder of the baking time.
Can you make condensed milk bread without a stand mixer?
Yes, you can absolutely make condensed milk bread without a stand mixer by kneading the dough by hand. While a stand mixer makes the process easier, hand-kneading for about 15-20 minutes will develop the gluten just as effectively. The key is to be patient and continue kneading until the dough becomes smooth and elastic, passing the “window pane test” when stretched.
What is the texture like in condensed milk bread?
Condensed milk bread has an exceptionally soft, fluffy texture with a fine crumb structure. It pulls apart easily into delicate, tender layers while still maintaining enough structure to hold together. The crust is thin and tender rather than crisp or chewy, and the interior stays moist for days. This pillowy softness is what makes condensed milk bread so uniquely satisfying compared to other bread types.
Conclusion: Why You’ll Love This Condensed Milk Bread
The Joy of Homemade Bread
There’s something deeply satisfying about creating bread from scratch, and this condensed milk bread recipe offers that satisfaction with relatively little effort. The process of watching simple ingredients transform into a soft, aromatic loaf brings a sense of accomplishment that store-bought bread simply can’t match. Plus, your home will be filled with the irresistible aroma of freshly baked bread – an added bonus that elevates the entire experience.
Once you’ve mastered this basic condensed milk bread, you’ll have a versatile foundation for countless variations. The confidence you gain from successful bread making often leads to more adventurous baking projects, expanding your culinary repertoire and bringing new delights to your table.
“Discover great ideas like our cottage cheese cheesecake for your next baking adventure.”
Health Benefits of Homemade vs. Store-Bought
When you make condensed milk bread at home, you control every ingredient that goes into it. Unlike many commercial breads that contain preservatives, dough conditioners, and artificial flavors, your homemade version contains only simple, recognizable ingredients. While condensed milk bread is certainly an indulgence with its butter and sweetened condensed milk, it’s free from the artificial additives found in many store-bought options.
The freshness factor also can’t be overlooked. Bread begins losing quality from the moment it’s baked, so enjoying freshly baked condensed milk bread provides not only better flavor but potentially more nutrients than bread that’s been sitting on store shelves for days. By making your own, you’re choosing quality over convenience – a choice your taste buds and body will appreciate.
PrintCondensed Milk Bread
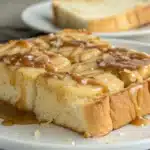
Incredibly soft and slightly sweet bread rolls made with sweetened condensed milk for an unmatched tender texture.
- Prep Time: 30
- Cook Time: 25
- Total Time: 55 minutes
- Yield: 9 1x
- Category: Bread
- Cuisine: International
Ingredients
- 2/3 cups Milk, lukewarm
- 2 tsp Dried active yeast
- 2.5 cups All-purpose flour
- 2 tsp Sugar
- 1/4 cup Sweetened condensed milk
- 4 tbsp Butter, softened (salted butter recommended)
- 1.5 tbsp Milk (for brushing before baking)
- Butter for brushing on top of baked rolls
Instructions
- Combine lukewarm milk, yeast, and a pinch of sugar; let stand 5-10 minutes until frothy.
- In a large bowl, combine flour, remaining sugar, condensed milk, and butter.
- Add the activated yeast mixture and stir until a shaggy dough forms. Rest 15-20 minutes.
- Knead dough until smooth and elastic (10-15 minutes by machine or 15-20 minutes by hand).
- Place in oiled bowl, cover, and let rise 60 minutes until doubled.
- Divide into 9 equal pieces, shape into balls, and place in parchment-lined 9-inch square pan.
- Cover and let rise 30-45 minutes until puffy.
- Preheat oven to 400°F (200°C). Brush tops with milk and bake 20-25 minutes until golden.
- Immediately brush hot rolls with butter. Cool 5 minutes in pan before transferring to rack.
Notes
Nutrition facts are estimates and may vary based on ingredients used, portion sizes, and preparation methods. For best results, ensure all ingredients are at room temperature before beginning.
Nutrition
- Serving Size: 9
- Calories: 210 Kcal
- Sugar: 7g
- Sodium: 95mg
- Fat: 8g
- Saturated Fat: 5g
- Carbohydrates: 29g
- Fiber: 1g
- Protein: 5g
- Cholesterol: 20mg
Keywords: condensed milk bread, sweet bread rolls, soft bread recipe, homemade bread, sweetened condensed milk recipe
Let’s connect! Follow me for more Joylicious Recipes: Facebook, Instagram, Pinterest