Perfect Homemade Peanut Butter Balls Recipe: Easy No-Bake Treats
Why This Recipe Will Become Your Go-To Treat
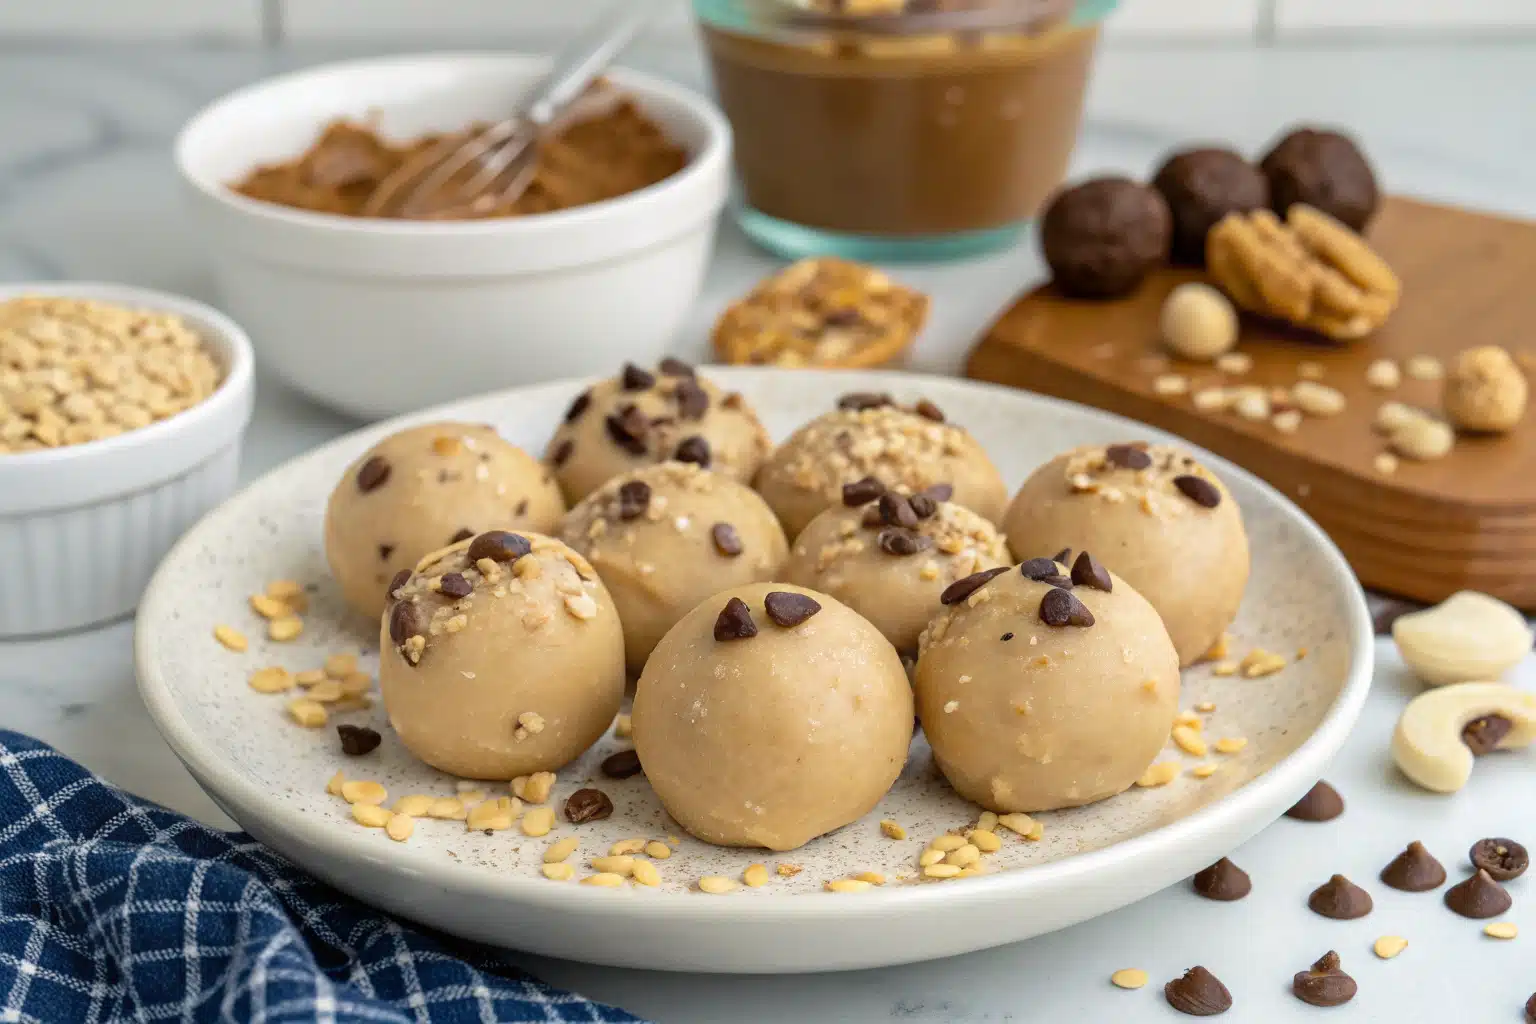
Peanut butter balls recipe enthusiasts rejoice! These delectable, bite-sized treats combine the irresistible flavors of creamy peanut butter and rich chocolate in perfect harmony. Whether you’re preparing for holiday gatherings, seeking a special homemade gift, or simply craving a sweet indulgence, this foolproof peanut butter balls recipe delivers consistent results every time. The beauty of these treats lies in their simplicity—no baking required, minimal ingredients, and endless possibilities for customization.
“Discover great ideas like our creamy skillet chicken with mushrooms and cheese for a delicious dinner before enjoying these sweet treats.”
The History and Popularity of Peanut Butter Balls Recipe
Peanut butter balls have a rich history in American homemade confectionery traditions. Often confused with their close cousin, the buckeye (a regional specialty from Ohio), these sweet morsels have graced holiday platters and cookie exchanges for generations. What makes the peanut butter balls recipe so enduringly popular? The perfect balance of sweet and salty flavors, the satisfying texture contrast between smooth peanut butter filling and snappy chocolate coating, and the nostalgic comfort they bring to any occasion. Plus, their no-bake nature makes them accessible to bakers of all skill levels, from novices to seasoned confectioners.
Essential Ingredients for Perfect Peanut Butter Balls Recipe
The Foundation: Quality Peanut Butter and Chocolate
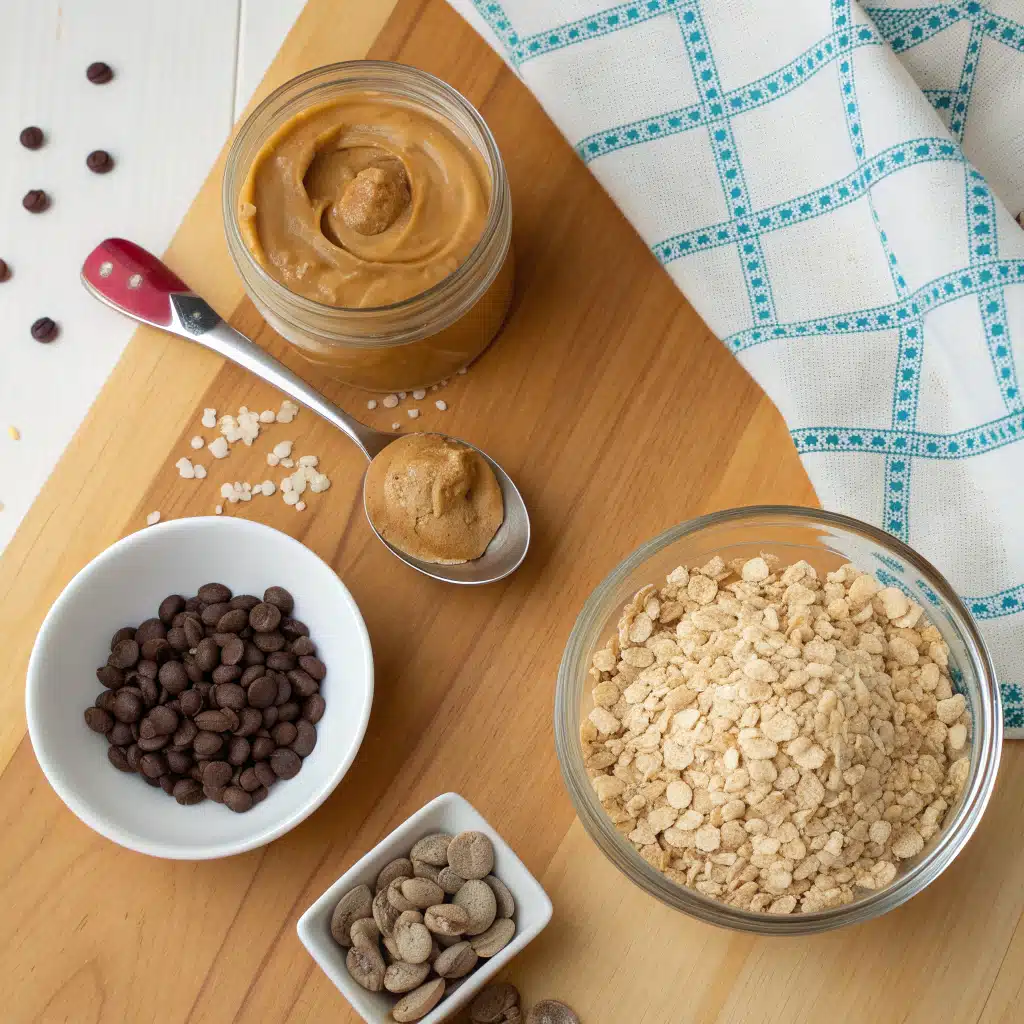
The secret to an exceptional peanut butter balls recipe starts with selecting the right ingredients. For the most consistent results, use commercial creamy peanut butter rather than natural varieties that can separate. Similarly, choosing high-quality chocolate makes a significant difference in the final taste and appearance of your treats. While semi-sweet chocolate works beautifully, you can easily substitute milk chocolate for a sweeter profile or dark chocolate for a more sophisticated flavor.
Complete Ingredient List for Peanut Butter Balls Recipe
| Ingredient | Amount | Notes |
|---|---|---|
| Unsalted butter | 6 Tablespoons (85g) | Softened to room temperature |
| Creamy peanut butter | 1 cup (250g) | Not natural style |
| Confectioners’ sugar | 2 and 1/2 cups (300g) | Sifted for best texture |
| Pure vanilla extract | 1/2 teaspoon | Use real vanilla for best flavor |
| Salt | 1/8 teaspoon | Enhances sweetness |
| Semi-sweet chocolate bars | 12 ounces (339g) | Coarsely chopped (three 4-ounce bars) |
| Vegetable oil | 1 teaspoon | Helps thin chocolate for smooth coating |
| Sprinkles | Optional | For decorative topping |
Step-by-Step Guide to Making Peanut Butter Balls Recipe
Preparing the Peanut Butter Mixture
Creating the perfect peanut butter balls recipe begins with properly preparing your workspace and ingredients. The process is straightforward but requires attention to detail for the best results.
“Learn more about proper mixing techniques from our cookie dough bites recipe which uses similar methods.”
- Line a large baking sheet with parchment paper or a silicone baking mat to prevent sticking.
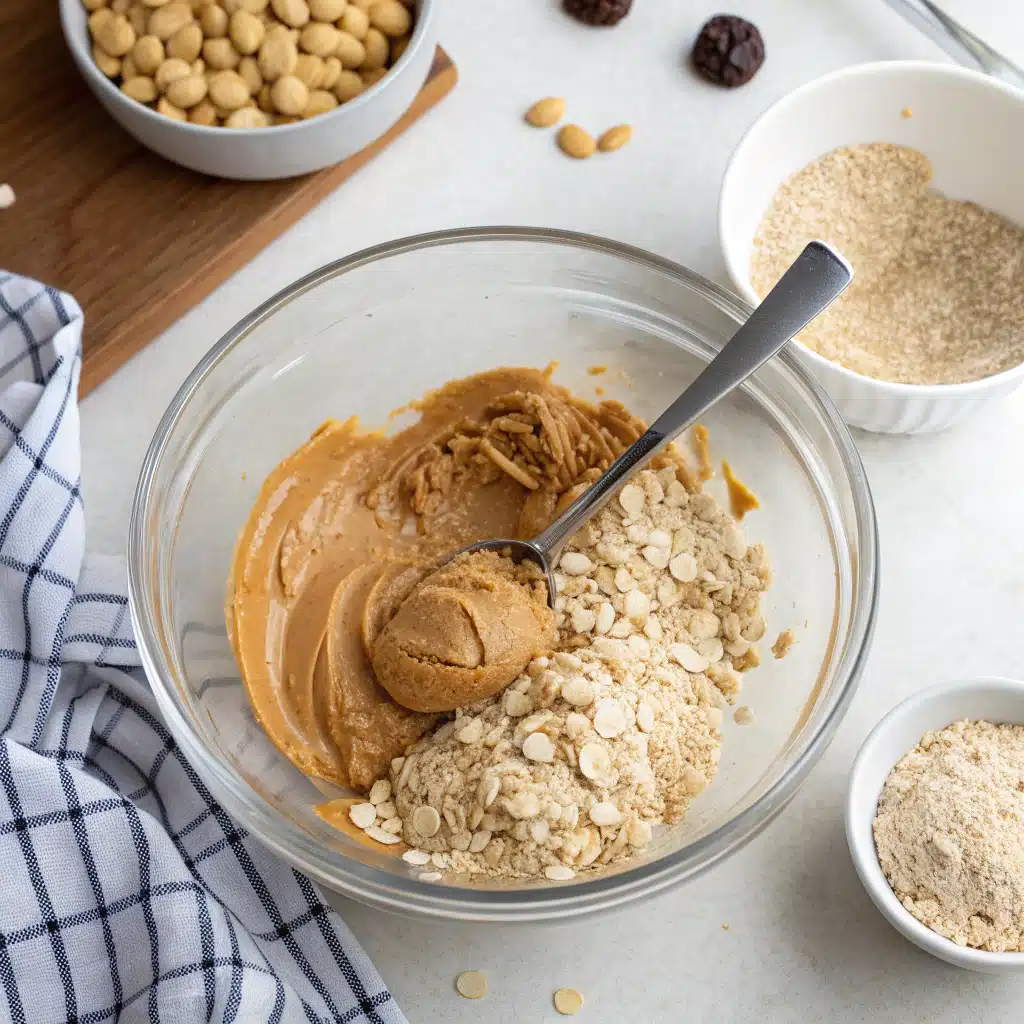
- Using a handheld or stand mixer with a paddle attachment, beat the softened butter on medium-high speed for approximately 2 minutes until creamy and smooth.
- Add the peanut butter to the creamed butter and mix for about 1 minute until thoroughly combined. Don’t worry if you notice small chunks of butter—they’ll blend in as you continue mixing.
- Gradually add the confectioners’ sugar, vanilla extract, and salt to the mixture. Beat on low speed for 2 minutes until everything is well incorporated. The mixture will be somewhat soft and slightly crumbly at this stage.
Shaping and Chilling the Balls
The next critical phase in your peanut butter balls recipe is properly shaping and chilling the mixture:
- Take approximately 1 scant tablespoon (18g) of the peanut butter mixture and roll it between your palms to form a 1-inch ball.
- Place each formed ball on the prepared baking sheet, continuing until all the mixture has been shaped (you should have about 32-35 balls in total).
- If the mixture becomes too sticky to handle, try one of two approaches: either chill the mixture in the refrigerator for 15 minutes before continuing, or lightly dust your hands with confectioners’ sugar to prevent sticking.
- Once all balls are shaped, refrigerate them for at least 1 hour (and up to 1 day) to firm up properly. This chilling step is crucial for successful chocolate coating.
Melting Chocolate and Coating Technique
The final step in creating perfect peanut butter balls is the chocolate coating process:
- During the last few minutes of chilling time, begin melting your chocolate with the vegetable oil. You can use either a double boiler or microwave method.
- For microwave melting: Place chopped chocolate and oil in a medium heat-proof bowl (a liquid measuring cup works well for dipping). Microwave in 20-second bursts, stirring each time, until fully melted and smooth.
- Allow the melted chocolate to cool for 6-8 minutes before dipping to prevent it from melting the chilled peanut butter balls.
- Working one at a time, submerge each peanut butter ball into the chocolate. Lift it out using a fork or a spiral candy dipping tool.
- Gently tap the fork or tool against the side of the bowl to remove excess chocolate.
- If using a fork, use a toothpick or second fork to slide the ball onto the lined baking sheet. If using a dipping tool, simply invert the ball onto the sheet.
- For a decorative touch, drizzle any remaining melted chocolate over the tops of the coated balls or add sprinkles while the chocolate is still wet.
- Refrigerate the chocolate-coated peanut butter balls for 30 minutes or until the chocolate has completely set before serving.
Expert Tips for Peanut Butter Balls Recipe Success
Troubleshooting Common Issues
Even the most straightforward peanut butter balls recipe can sometimes present challenges. Here’s how to address common problems:
If your peanut butter mixture is too dry and crumbly to form into balls, add a teaspoon of softened butter or additional peanut butter until it reaches a moldable consistency. Conversely, if your mixture is too soft to hold its shape, gradually add more confectioners’ sugar, a tablespoon at a time, until the desired texture is achieved. Remember that ambient temperature and humidity can affect your mixture, so don’t hesitate to make these adjustments as needed.
“Check out our banana chocolate chip cookies recipe for more tips on working with soft doughs.”
Achieving the Perfect Chocolate Coating
The chocolate coating can make or break your peanut butter balls recipe. For professional-looking results:
Always allow the chocolate to cool slightly before dipping to prevent melting the peanut butter centers. If the chocolate begins to thicken during the dipping process, gently reheat it for a few seconds to maintain the optimal consistency. Consider adding a small amount of shortening or coconut oil instead of vegetable oil if you prefer—both work well to create that perfect shine and snap when the chocolate sets. For the smoothest coating, make sure your peanut butter balls are thoroughly chilled before dipping, as warm centers can cause the chocolate to streak or become uneven.
Tools and Equipment Recommendations
Having the right tools makes creating peanut butter balls much easier:
Invest in a candy dipping tool set for the cleanest, most professional-looking results. These inexpensive tools feature small loops or forks specifically designed for dipping candies. If you make confections frequently, consider purchasing a chocolate melting pot to maintain the perfect temperature throughout the dipping process. Silicone baking mats are superior to parchment paper for this recipe, as they lie completely flat and prevent the balls from rolling. A small cookie scoop (about 1 tablespoon capacity) ensures uniformly sized balls and speeds up the shaping process considerably.
Storage and Shelf Life
Refrigerator Storage Guidelines
Proper storage is crucial for maintaining the quality of your peanut butter balls recipe creations:
Once the chocolate has completely set, transfer your peanut butter balls to an airtight container, separating layers with parchment paper to prevent sticking. Stored properly in the refrigerator, these treats will maintain peak freshness for up to 2 weeks. For the best texture and flavor, allow refrigerated peanut butter balls to sit at room temperature for about 10 minutes before serving. This brief warming period softens the centers to the perfect consistency while the chocolate coating remains intact.
“Looking for inspiration? Try our lemon blueberry bread recipe for another make-ahead treat with great storage qualities.”
Freezing Instructions for Longer Storage
Your peanut butter balls recipe yields treats that freeze beautifully:
For longer-term storage, freeze fully set peanut butter balls in a single layer on a baking sheet until solid (about 1 hour), then transfer to a freezer-safe container with parchment paper between layers. Properly stored, frozen peanut butter balls maintain quality for up to 3 months. To thaw, transfer the desired quantity to the refrigerator for several hours or overnight. Avoid thawing at room temperature, as condensation can cause the chocolate coating to become sticky or develop white streaks. Many people actually enjoy eating these treats directly from the freezer, as the centers remain surprisingly soft while the chocolate provides a satisfying snap.
Make-Ahead Tips for Special Occasions
Planning ahead makes holiday preparations much less stressful:
You can prepare the peanut butter mixture and shape the balls up to 2 days in advance, storing them covered in the refrigerator until you’re ready for the chocolate coating step. For holiday gift-giving, consider making a double batch and freezing half for later use. The chocolate coating process is best done no more than 2 days before serving or gifting to ensure the chocolate remains pristine. If preparing for a party, store decorated peanut butter balls in the refrigerator until about 30 minutes before serving to maintain the perfect texture balance.
Creative Variations on the Classic Recipe
Flavor Additions and Mix-Ins
The basic peanut butter balls recipe provides an excellent canvas for customization:
Consider adding 1/4 cup of finely chopped crispy rice cereal for a subtle crunch within the creamy centers. Mini chocolate chips (about 1/3 cup) folded into the peanut butter mixture create delightful pockets of chocolate throughout. For sophisticated flavor profiles, try incorporating 2 tablespoons of finely ground coffee, 1/4 cup crushed graham crackers, or 1/3 cup finely chopped dried fruit such as cranberries or cherries. Spice enthusiasts might enjoy adding a pinch of cinnamon, a dash of cayenne pepper, or 1/4 teaspoon of ground ginger to the peanut butter mixture for an unexpected flavor twist.
“Want more ideas? Check out our smores cookies recipe for inspiration on delicious flavor combinations.”
Coating Alternatives Beyond Chocolate
While the traditional chocolate coating is delicious, consider these alternatives:
White chocolate creates a striking appearance and offers a sweeter flavor profile that pairs beautifully with the peanut butter centers. Colored candy melts allow you to coordinate your treats with holiday themes or special occasions. For added dimension, try double-dipping: coat with chocolate first, allow to set, then partially dip in white chocolate for an elegant two-tone effect. Almond bark, butterscotch chips, or peanut butter chips melted with a bit of shortening also make excellent coating alternatives for those looking to experiment with different flavors.
Decorative Finishing Touches
Elevate your peanut butter balls recipe with these decorative ideas:
Before the chocolate sets, roll or sprinkle the balls with chopped nuts, colored sprinkles, shredded coconut, or crushed cookies for added texture and visual appeal. Drizzle contrasting chocolate (white over dark or vice versa) in fine lines across the tops for a professional finish. Create marbled effects by swirling together white and dark chocolate before dipping. Add a signature touch by topping each ball with a single decorative element—a small piece of crystallized ginger, a coffee bean, or a tiny edible gold leaf flake for special occasions.
Serving Suggestions and Presentation Ideas
Pairing Recommendations
Enhance the enjoyment of your peanut butter balls recipe with thoughtful pairings:
Serve alongside hot beverages like coffee, hot chocolate, or chai tea, as the warmth beautifully complements the cool, creamy centers. For an elegant dessert presentation, offer peanut butter balls with small glasses of dessert wine—late harvest Riesling or tawny port make particularly good companions. Include these treats on a dessert charcuterie board with fresh fruits, nuts, and complementary cookies for a stunning presentation at gatherings. For the ultimate indulgence, serve alongside vanilla or coffee ice cream, where the temperature contrast creates a delightful sensory experience.
Gift-Giving Presentation
Peanut butter balls make thoughtful homemade gifts when properly presented:
Line decorative tins or small boxes with parchment paper and arrange the peanut butter balls in single layers, separated by additional parchment to prevent sticking. For a professional touch, place each ball in a mini cupcake liner before packaging. Create beautiful transparent packages by placing the treats in clear cellophane bags tied with coordinating ribbon and a handwritten tag. Consider crafting a sampler box with this peanut butter balls recipe alongside other homemade confections for an impressive homemade gift basket.
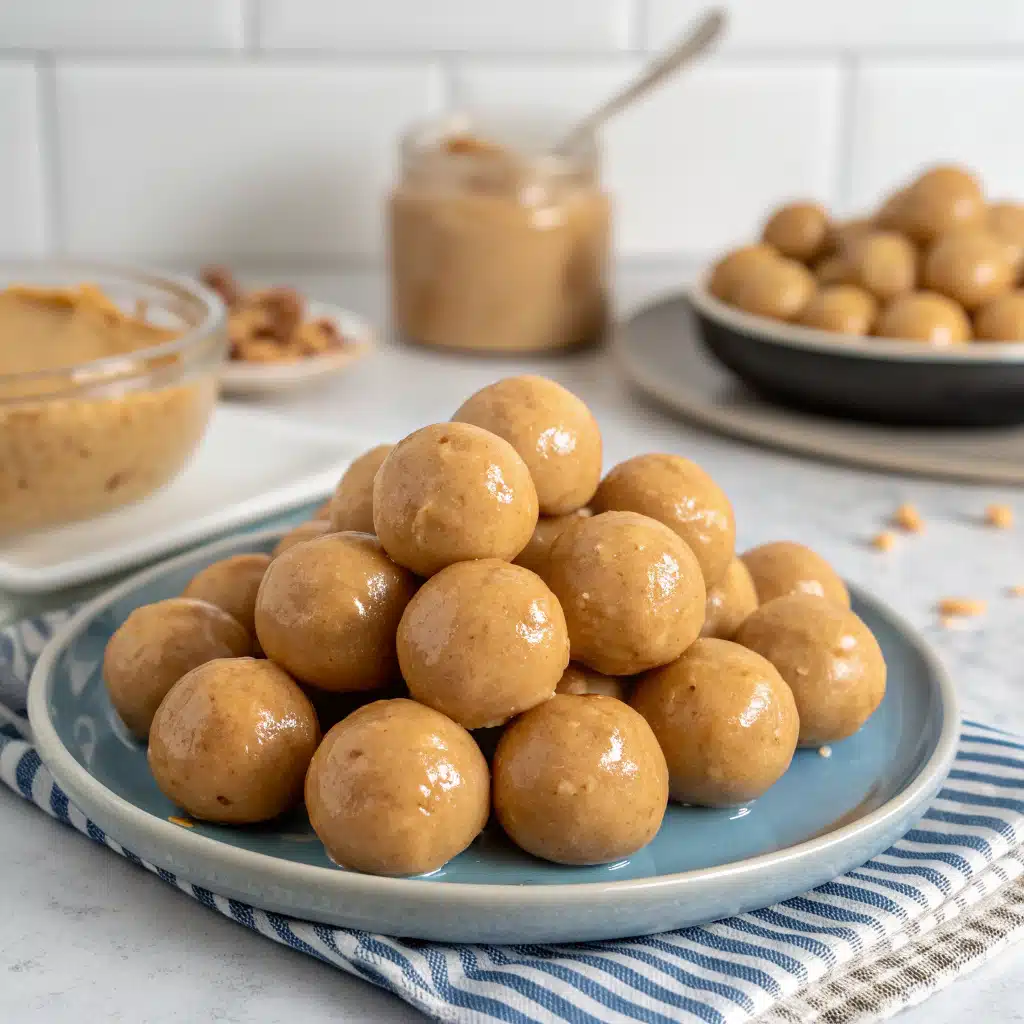
Dessert Table Arrangement Ideas
When featuring peanut butter balls at events, consider these presentation strategies:
Arrange on tiered serving platters with complementary treats in coordinating colors for visual impact. Place in decorative cupcake liners and arrange in a spiral pattern on a round serving plate for an elegant display. Create height variation by presenting some peanut butter balls on cake stands and others on flat platters. For formal events, consider serving individual peanut butter balls on small spoons or decorative picks for easy, elegant consumption.
“Here’s your guide to creating beautiful dessert arrangements with our fruit kabobs guide that would pair beautifully with these peanut butter balls.”
FAQs About Peanut Butter Balls Recipe
What ingredients do I need to make peanut butter balls?
To make peanut butter balls, you’ll need softened unsalted butter, creamy peanut butter (non-natural variety), confectioners’ sugar, vanilla extract, salt, semi-sweet chocolate, and a small amount of vegetable oil. Optional ingredients include sprinkles or other decorative toppings. The simple ingredient list makes this peanut butter balls recipe accessible for most home bakers.
Are peanut butter balls the same as buckeyes?
Peanut butter balls are fully coated in chocolate, while buckeyes are only partially dipped, leaving peanut butter exposed. Both share nearly the same filling recipe.
Can I make peanut butter balls without baking?
Yes! One of the best features of this peanut butter balls recipe is that it requires no baking whatsoever. These are completely no-bake treats that only need refrigeration to set properly. This makes them perfect for summer when you don’t want to heat up the kitchen, or for preparing with children.
How do you keep peanut butter balls from falling apart?
Keep peanut butter balls from crumbling by balancing ingredients and chilling well. Add more peanut butter if too dry, refrigerate an hour before dipping, and coat with slightly cooled chocolate.
Why are my peanut butter balls dry and crumbly?
Peanut butter balls can crumble from excess sugar or natural peanut butter. Fix by adding peanut butter a teaspoon at a time until the mix holds, and use hand warmth while rolling to bind.
How long do peanut butter balls last in the fridge?
Properly stored in an airtight container, peanut butter balls will maintain quality in the refrigerator for up to 2 weeks. For extended storage, freeze for up to 3 months. Always separate layers with parchment paper to prevent sticking and maintain the chocolate coating’s appearance.
Conclusion: Why This Peanut Butter Balls Recipe Deserves a Place in Your Recipe Collection
The Versatility of Peanut Butter Balls Recipe
The humble peanut butter ball stands as a testament to simplicity in confectionery. This peanut butter balls recipe offers remarkable versatility for countless occasions. From casual family movie nights to elaborate holiday gift baskets, these treats adapt effortlessly to your needs. Their make-ahead capability makes them invaluable for busy hosts, while their customization potential ensures they never become boring. Whether you’re a novice cook or experienced baker, peanut butter balls deliver consistent satisfaction while allowing for creative expression through variations and decorative techniques.
Creating Traditions with Homemade Treats
Beyond their delicious taste, homemade peanut butter balls create lasting memories and traditions. Making these treats together becomes a cherished activity, especially during holiday seasons when families gather in the kitchen. The simple joy of rolling, dipping, and decorating transcends the finished product, creating connections and traditions that extend far beyond the recipe itself. By mastering this peanut butter balls recipe, you’re not just adding a delicious treat to your repertoire—you’re creating an opportunity for shared experiences and sweet memories that will be associated with these little chocolate-covered delights for years to come
“Don’t miss our cherry garcia ice cream recipe for another treat that creates wonderful food memories.”
Peanut Butter Balls Recipe
Creamy, sweet peanut butter centers enrobed in rich chocolate make these no-bake treats irresistible for any occasion.
- Prep Time: 45 minutes
- Total Time: 45 minutes
- Yield: 35 1x
- Category: Dessert
- Cuisine: American
Ingredients
- 6 Tablespoons (85g) unsalted butter, softened to room temperature
- 1 cup (250g) creamy peanut butter (not natural style)
- 2 and 1/2 cups (300g) confectioners’ sugar
- 1/2 teaspoon pure vanilla extract
- 1/8 teaspoon salt
- 12 ounces (three 4-ounce bars) semi-sweet chocolate bars (339g), coarsely chopped*
- 1 teaspoon vegetable oil (see Note)
- sprinkles for topping
Instructions
- Line a large baking sheet with parchment paper. Beat softened butter until creamy (about 2 minutes), then add peanut butter and beat until combined.
- Add confectioners’ sugar, vanilla extract, and salt. Beat on low speed until thoroughly mixed. The mixture will be slightly crumbly.
- Roll mixture into 1-inch balls (about 1 tablespoon each) and place on the prepared baking sheet. You should have approximately 32-35 balls.
- Refrigerate the shaped balls for at least 1 hour.
- Near the end of chilling time, melt chocolate and oil together in 20-second microwave intervals, stirring between each, until smooth. Let cool 6-8 minutes.
- Dip each chilled ball in chocolate, using a fork or candy dipping tool. Tap gently to remove excess chocolate, then place back on the baking sheet.
- Add sprinkles if desired while chocolate is still wet. Refrigerate for 30 minutes until chocolate is completely set.
Notes
Nutrition facts are estimates and may vary based on ingredients used, portion sizes, and preparation methods.
For best results, use commercial peanut butter rather than natural varieties which can separate. The vegetable oil helps thin the chocolate for smoother coating.
Nutrition
- Serving Size: 35
- Calories: 135
- Sugar: 12g
- Sodium: 60mg
- Fat: 8g
- Saturated Fat: 4g
- Carbohydrates: 15g
- Fiber: 1g
- Protein: 2g
- Cholesterol: 8mg
Keywords: peanut butter balls, no-bake dessert, chocolate peanut butter treats, holiday candy, homemade chocolate candy
Let’s connect! Follow me for more Joylicious Recipes: Facebook, Instagram, Pinterest